Pre-requisite tutorials:
— Computer Basics 1
Leads onto:
— Turtle Intermediate 1
Preface
In this tutorial we will learn how to interact with Turtles in ComputerCraft via the supplied Turtle API. We will be dealing specifically with select, refuel, getFuelLevel, move, turn, dig, place, and attack. It is highly recommended that you follow along with the tutorial while going though it!
In ComputerCraft we are supplied with many moveable Computers called Turtles. They come in various models that can include two (2) attachments from two (2) categories: tools and peripherals. A Turtle may have the two (2) attachment slots occupied by two (2) peripherals, but it may only ever have one (1) tool attached to it, this tool however can be combined with one (1) of any peripheral to fill the second slot.
To craft a normal Turtle you require seven (7) iron ingots, one (1) normal computer, and one (1) chest. As of ComputerCraft version 1.56 we also have Advanced Turtles which require seven (7) gold ingots, one (1) advanced computer, and one (1) chest. Both being placed in a crafting grid like so.
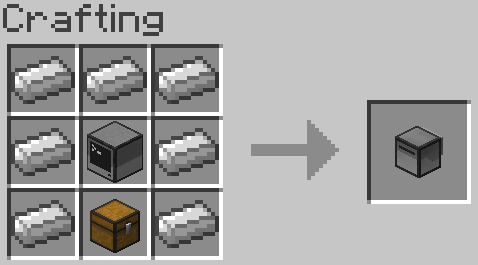
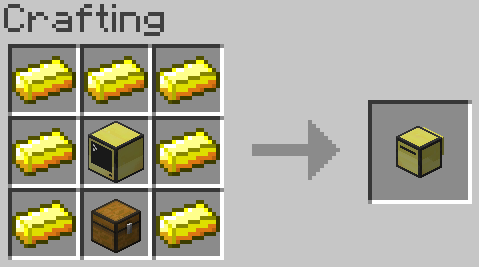
As of ComputerCraft version 1.56 the tools that we can attach to the turtle are as follows:
- Diamond Pickaxe
- Diamond Shovel
- Diamond Hoe
- Diamond Axe
- Diamond Sword
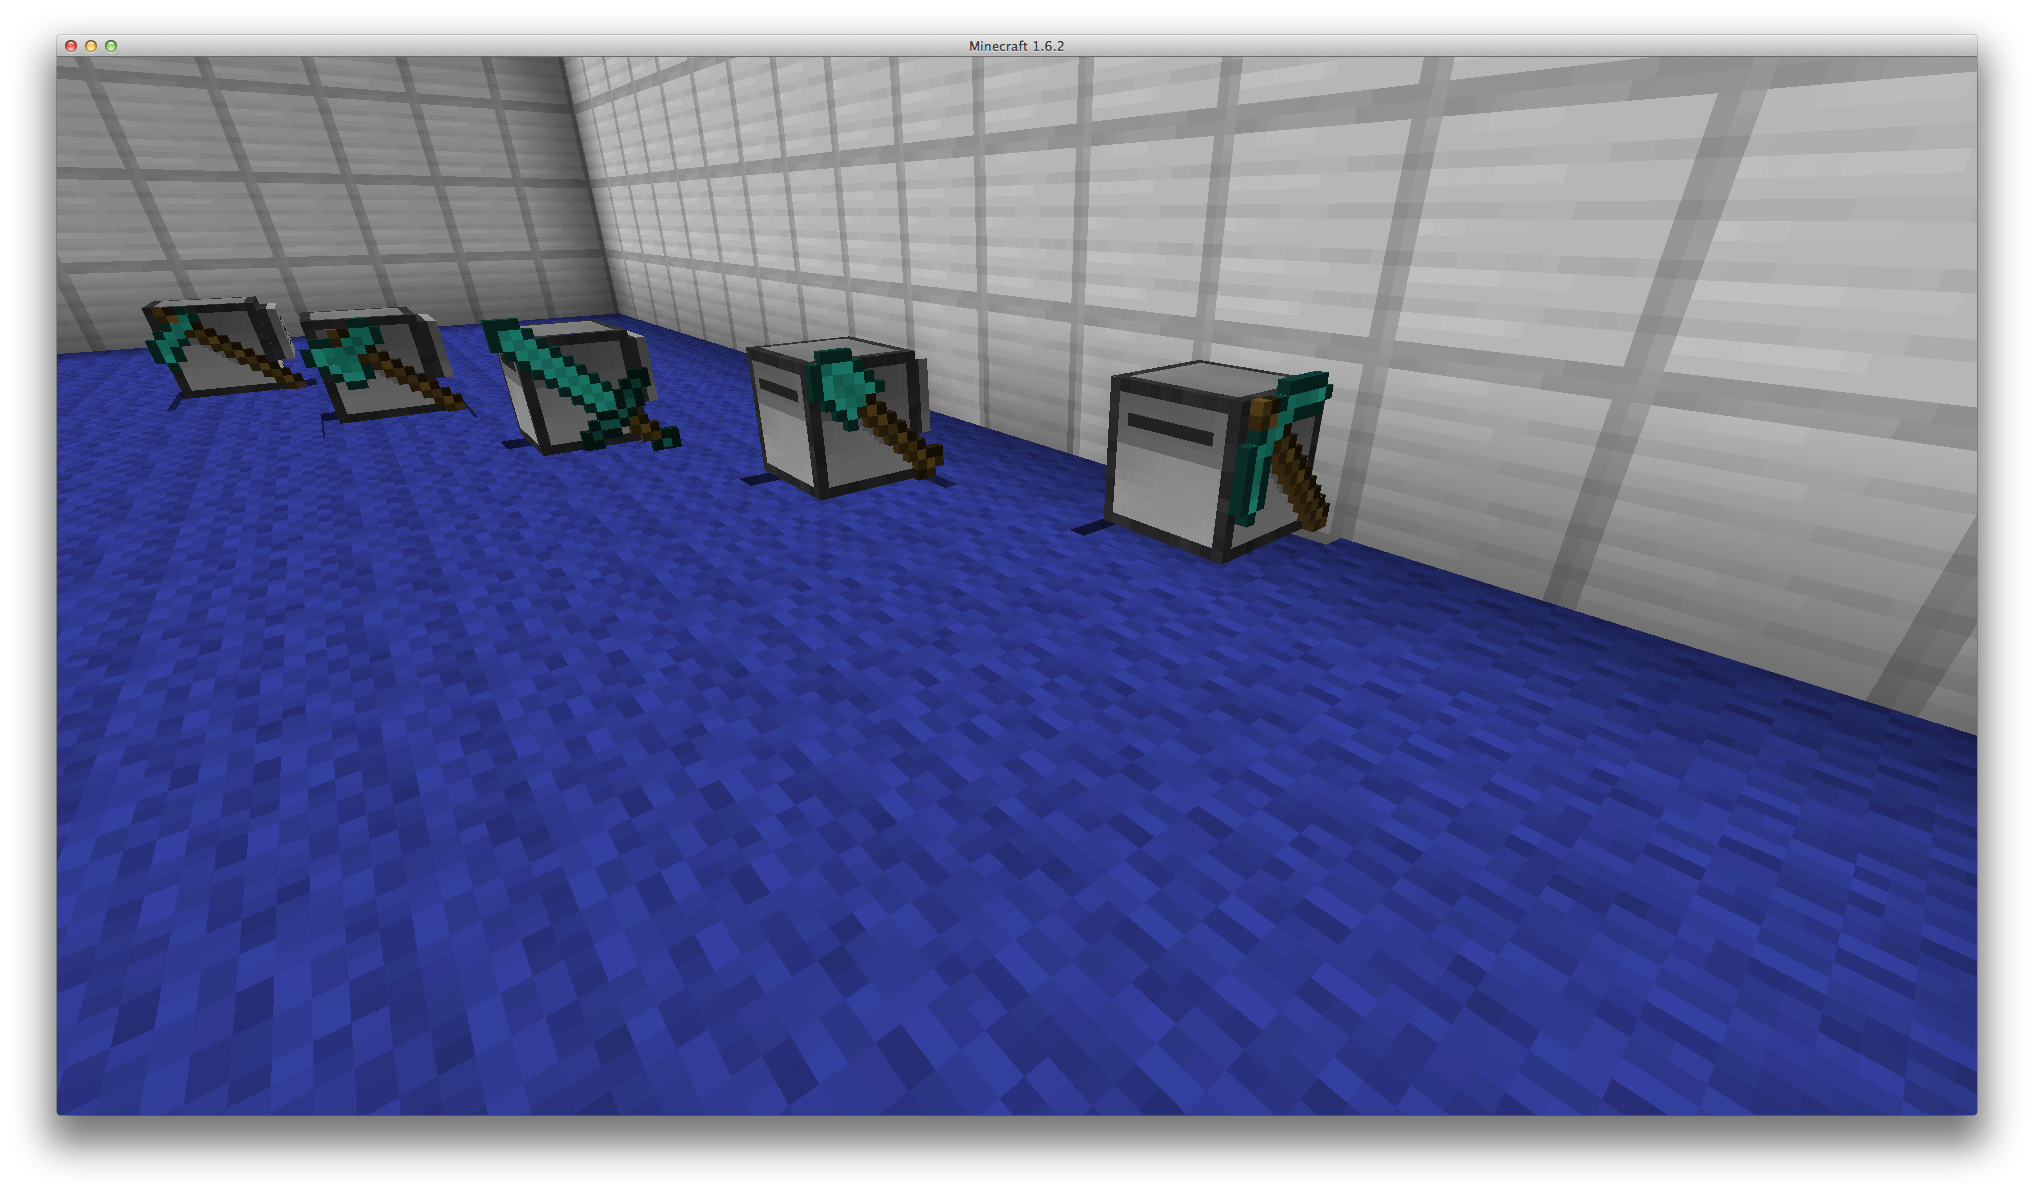
and the peripherals we can attach are:
- Wireless Modem
- Crafting Bench
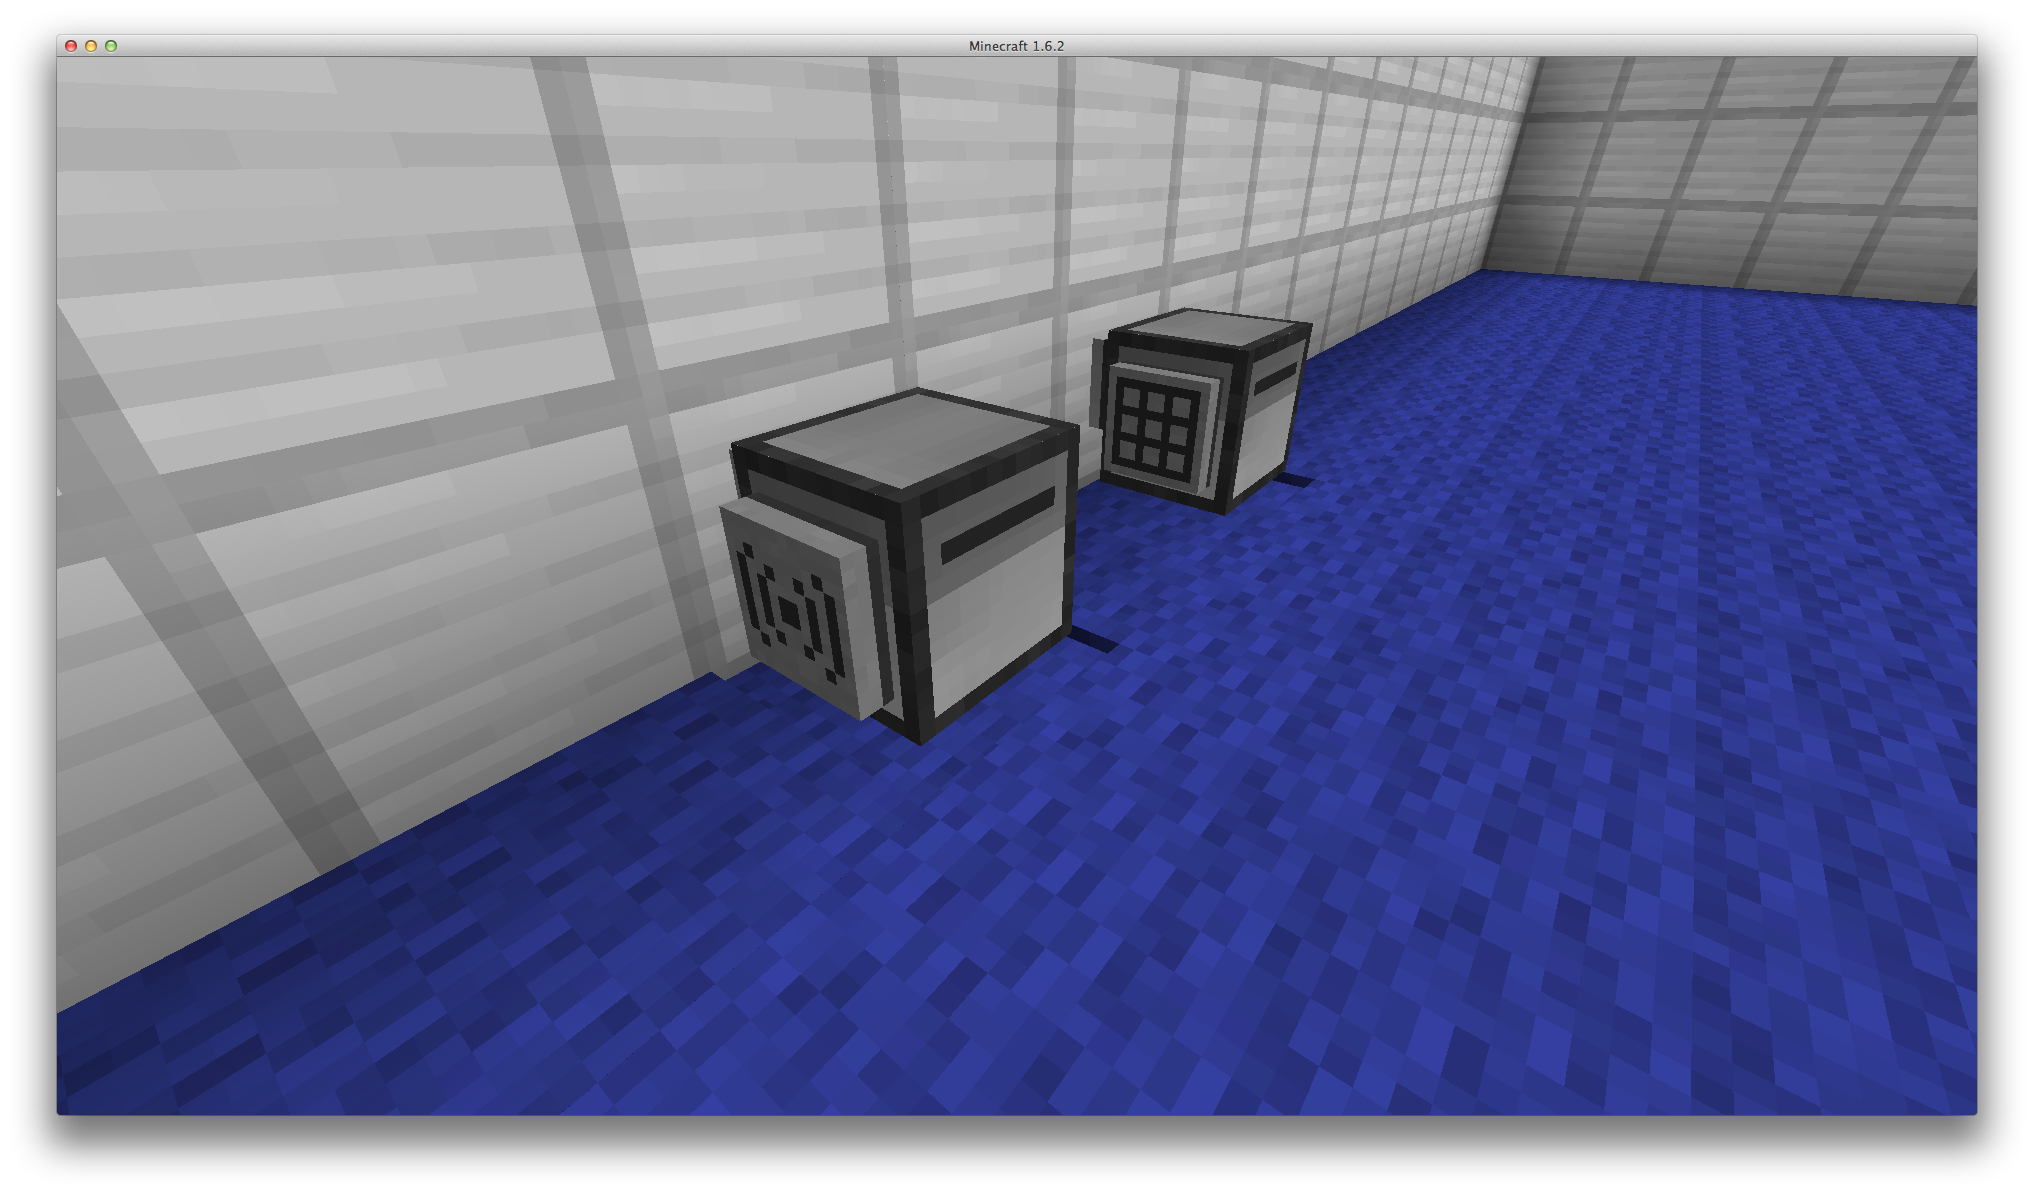
To add any of these to the Turtle simply place them in a crafting grid with a Turtle that has an empty attachment slot. A more extensive list of crafting recipes can be found here on the ComputerCraft wiki.
Note: As it stands, at the current time in writing this tutorial, once these tools and peripherals have been added to a Turtle they cannot be removed.
As stated previously a Turtle is a moving computer that can use tools and some peripherals, however it does also have one other feature so that it can use these tools effectively, and that is an inventory. Prior to ComputerCraft 1.4, Turtles only had 9 inventory slots, however since then Turtles now contain 16 inventory slots, as can be seen on the right-hand side of the GUI.
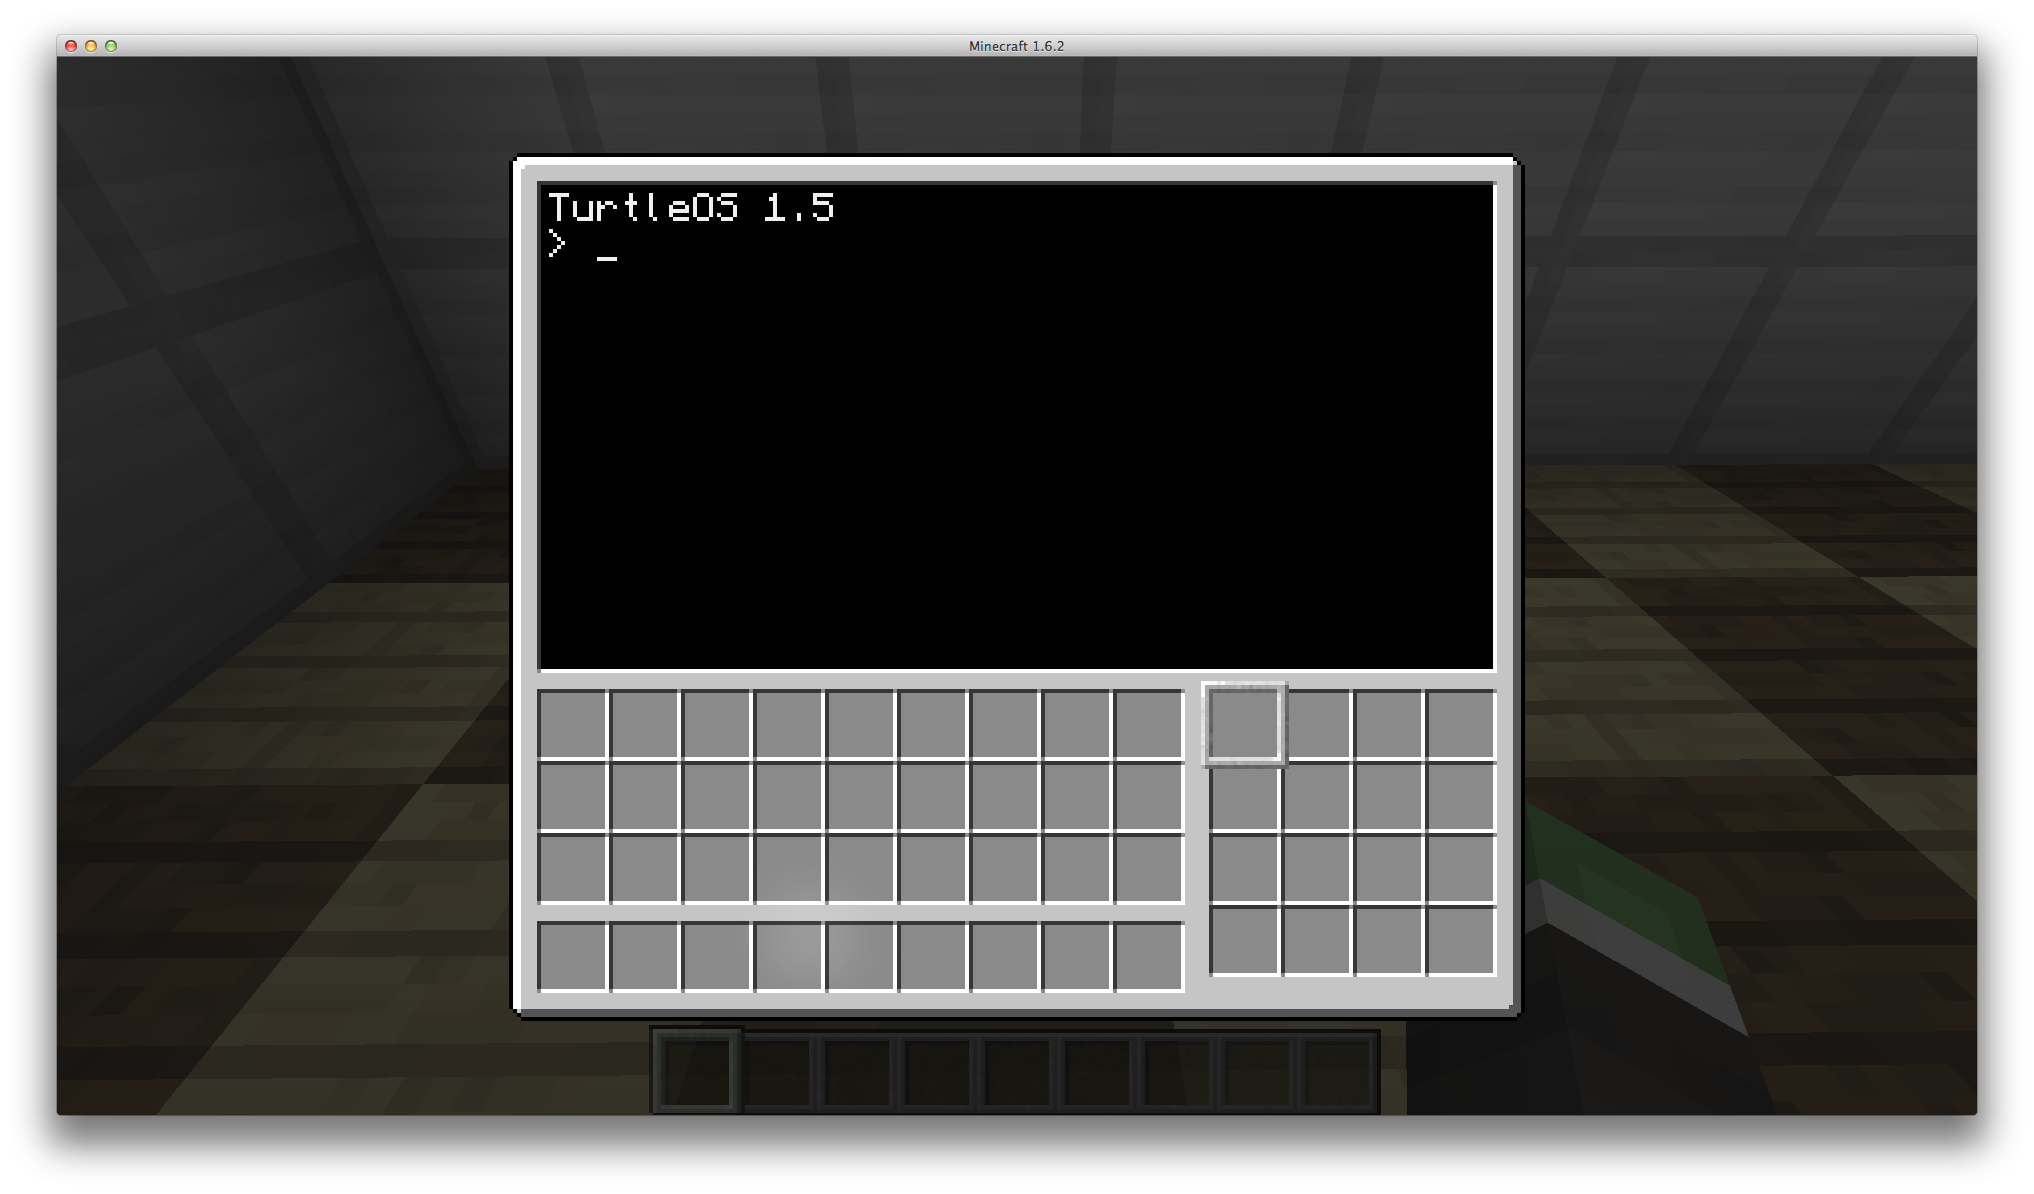
During the course of this tutorial we will be using many of these Turtles while showing how to use just some of the functions available to use for Turtles. We will also be using the Lua Prompt to execute commands while learning how a function works, and the edit program to create some small programs to run once we have learnt how the function works. We will only be using a normal Turtle as at the time of writing all that the Advanced Turtle adds is colours and clicking on a Turtles screen. Place down a Turtle in your world and lets begin.
select
As turtles have a large inventory, we must tell it which slot it is interacting with when we tell it to perform a particular action, as such we are provided with the `select` function, which allows us to change which inventory slot the turtle is interacting with. You may notice in the image above that there is a grey square around one of the inventory slots of the Turtle, this is the actively selected slot.
Open up Lua Prompt on the turtle and type turtle.select(2) and press enter. You will now notice that the second slot is selected, like so
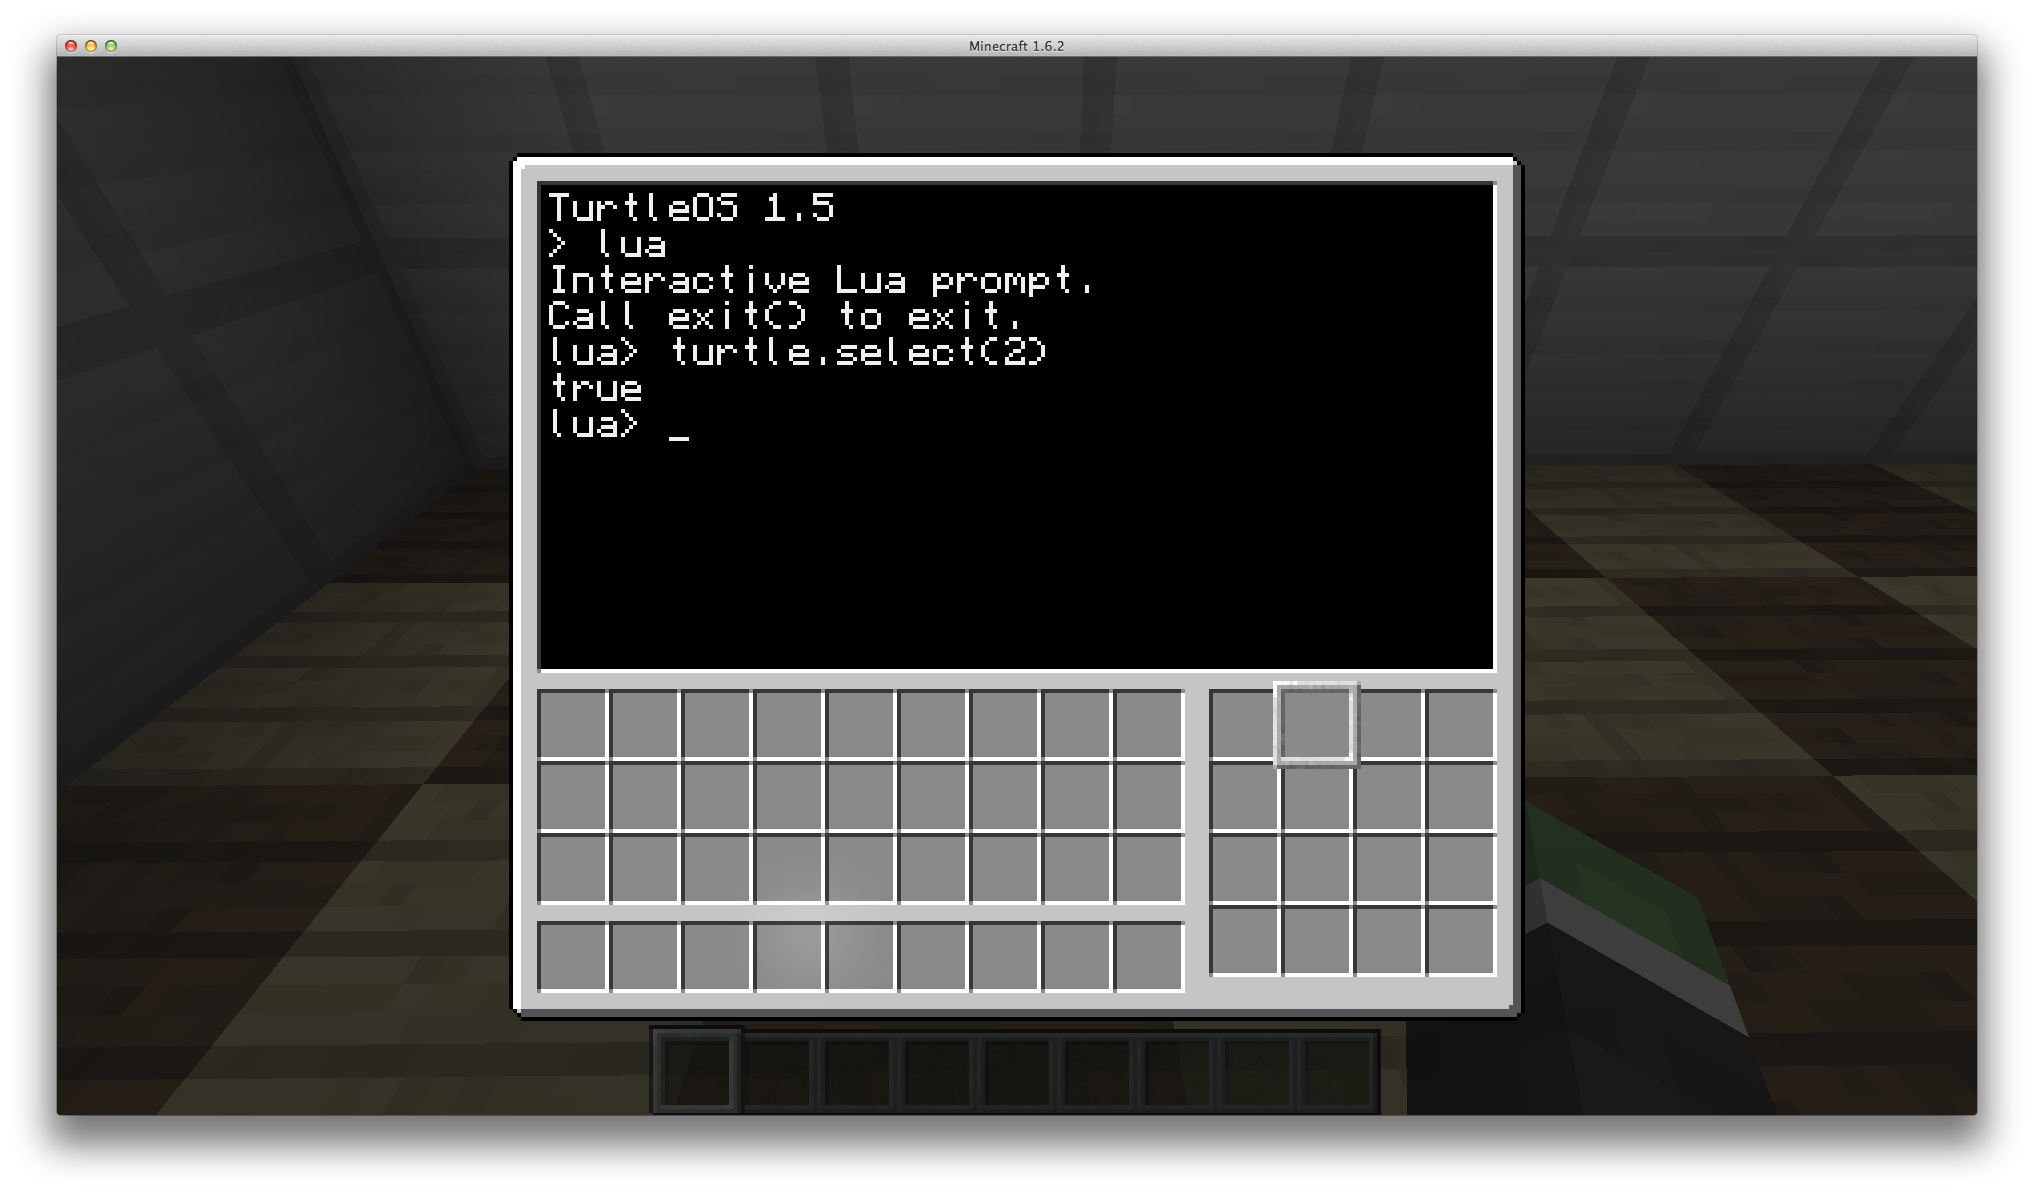
Note: The numbering of the slots goes from left to right, top to bottom, from 1 to 16.
You may change the slot to any number you wish from 1 to 16 in order to interact with the inventory during the course of your program, but be aware, if you attempt to select a negative slot, or a slot that is greater than 17, your program will error. Lets try that now, type turtle.select(17) into the prompt and press enter, you should get the following error.
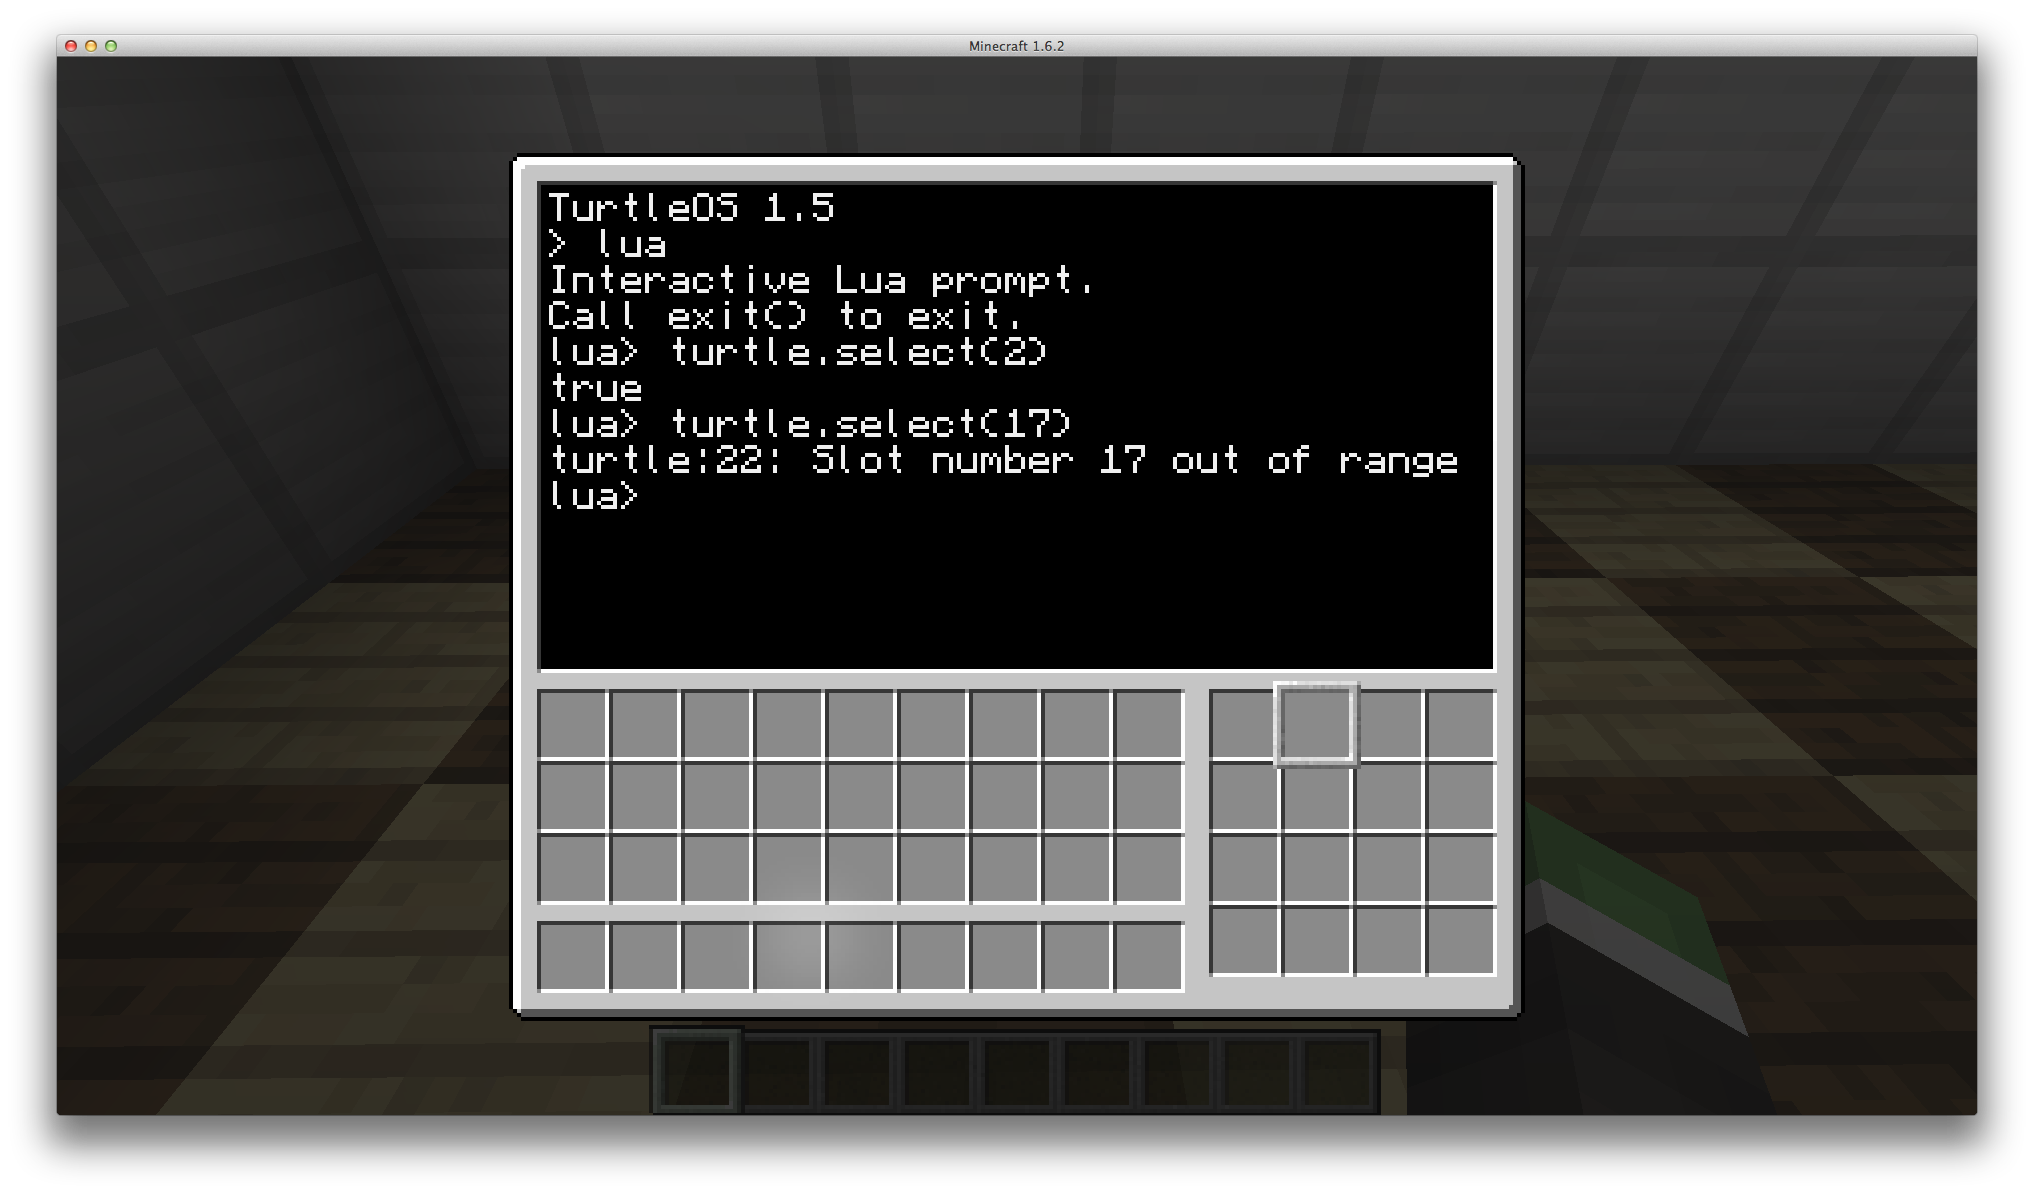
Now that we know how to change the selected slot of the Turtle's inventory, lets change it back to slot one (1) and continue on with the tutorial.
refuel
As of ComputerCraft 1.4, Turtles now optionally require fuel. By default this is turned on, but can be disabled in the `CCTurtle.cfg` configuration file located in the `config` folder of your Minecraft instance, simply change the value for B:turtlesNeedFuel from true to false. However for this tutorial we will leave it enabled.
Since Turtles require a source of fuel, we must then have a way of telling the Turtle to refuel, as such we have been supplied with the refuel function. In order to refuel a Turtle, a fuel source must be placed inside the turtles inventory. Place a piece of Coal inside slot 1 of the Turtle's inventory like so.
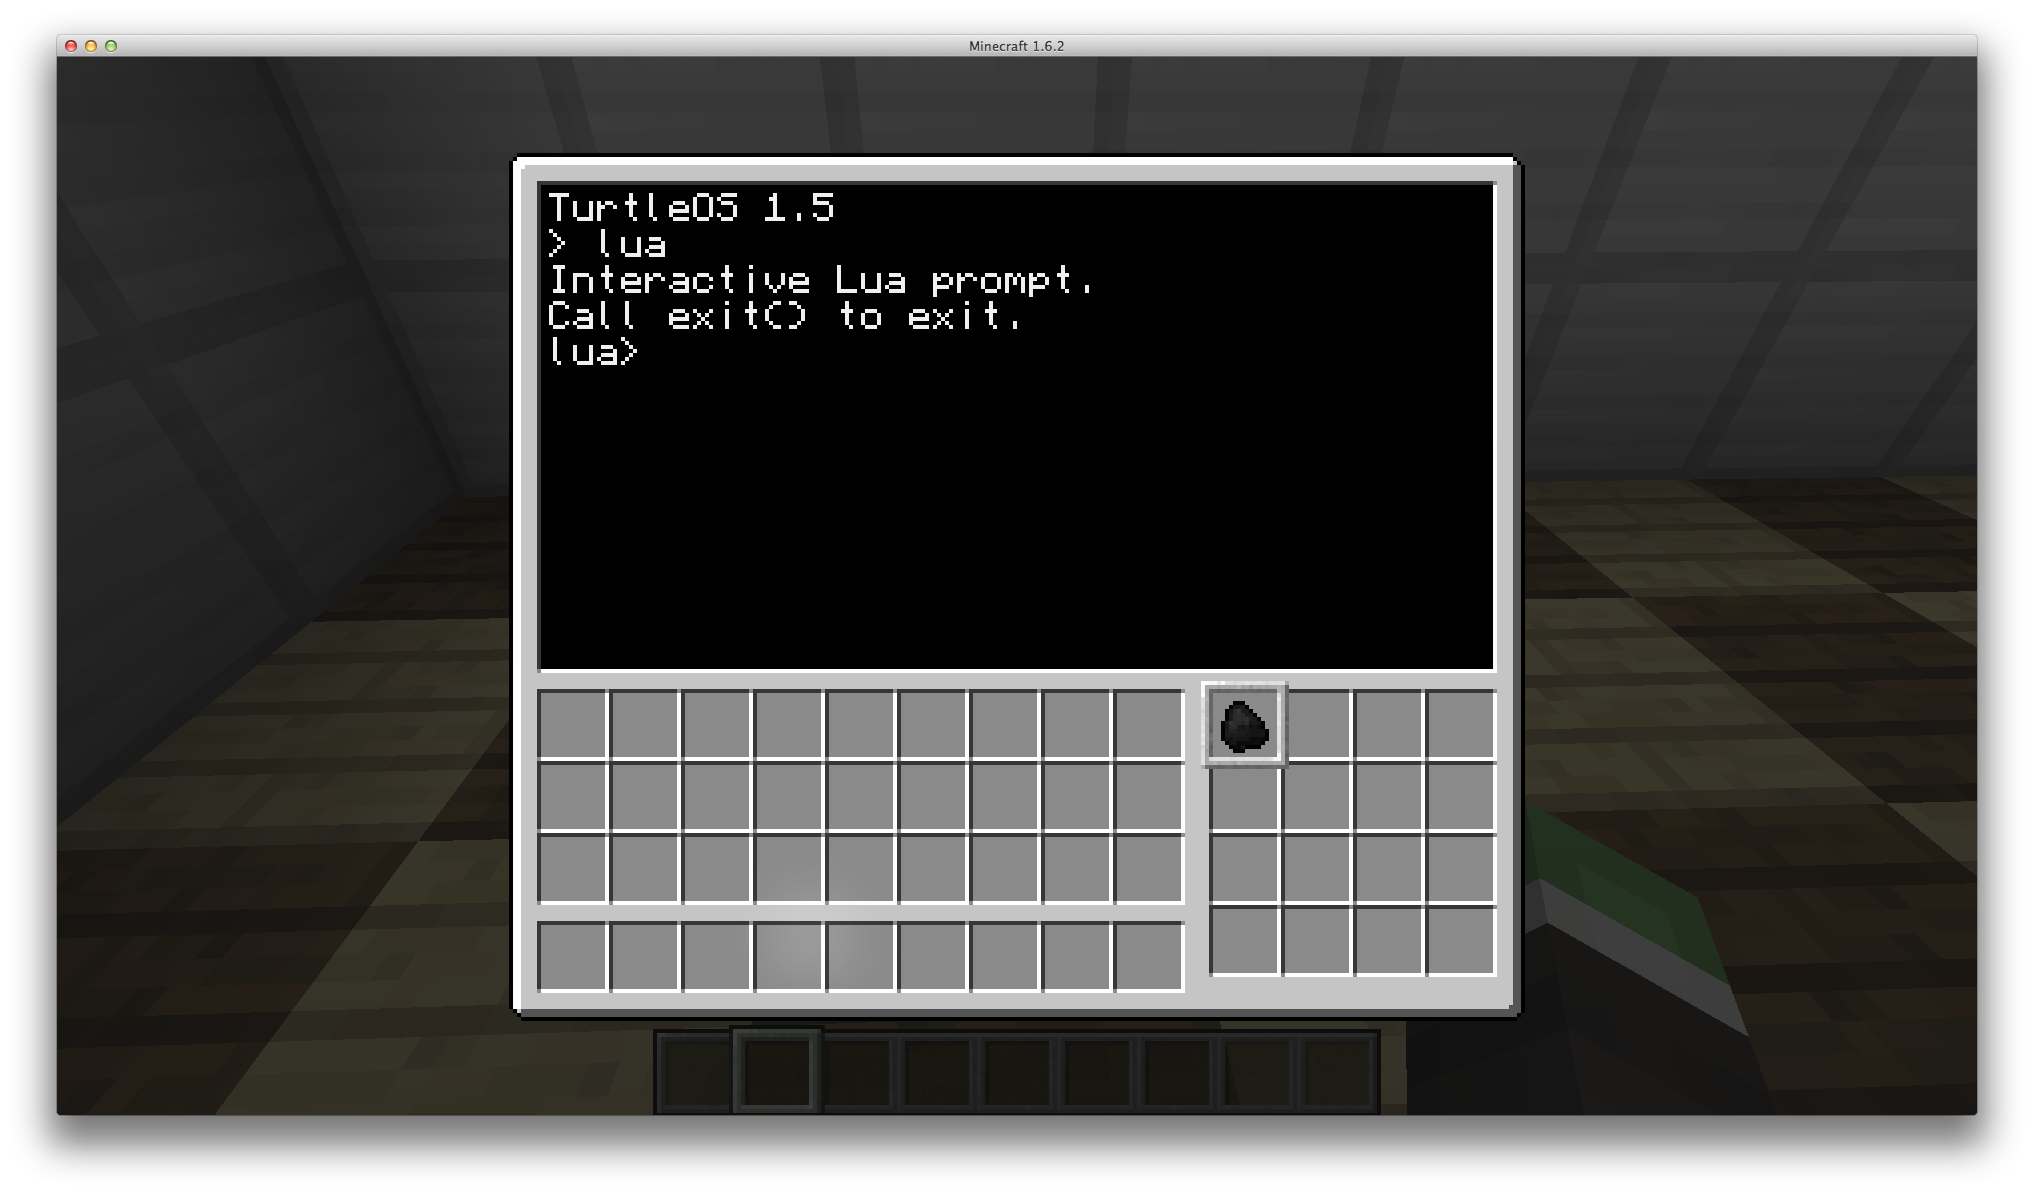
Now type into the prompt turtle.refuel() and press enter. The Turtle will have consumed the piece of coal from the inventory and the Turtle will now have some fuel in it.
The `refuel` function can also accept an argument for how many items to consume. In the above example, we didn't provide an amount, so it would have consumed as many as were supplied in that inventory slot. However if we were to place two (2) pieces of coal in the inventory, and type turtle.refuel(1) then it would have only consumed one (1) piece of coal. Try this now.
Note: It should also be noted that if we only have two (2) pieces of coal, and tell it to consume three (3), it will only consume the amount we provide it, we will not get an error.
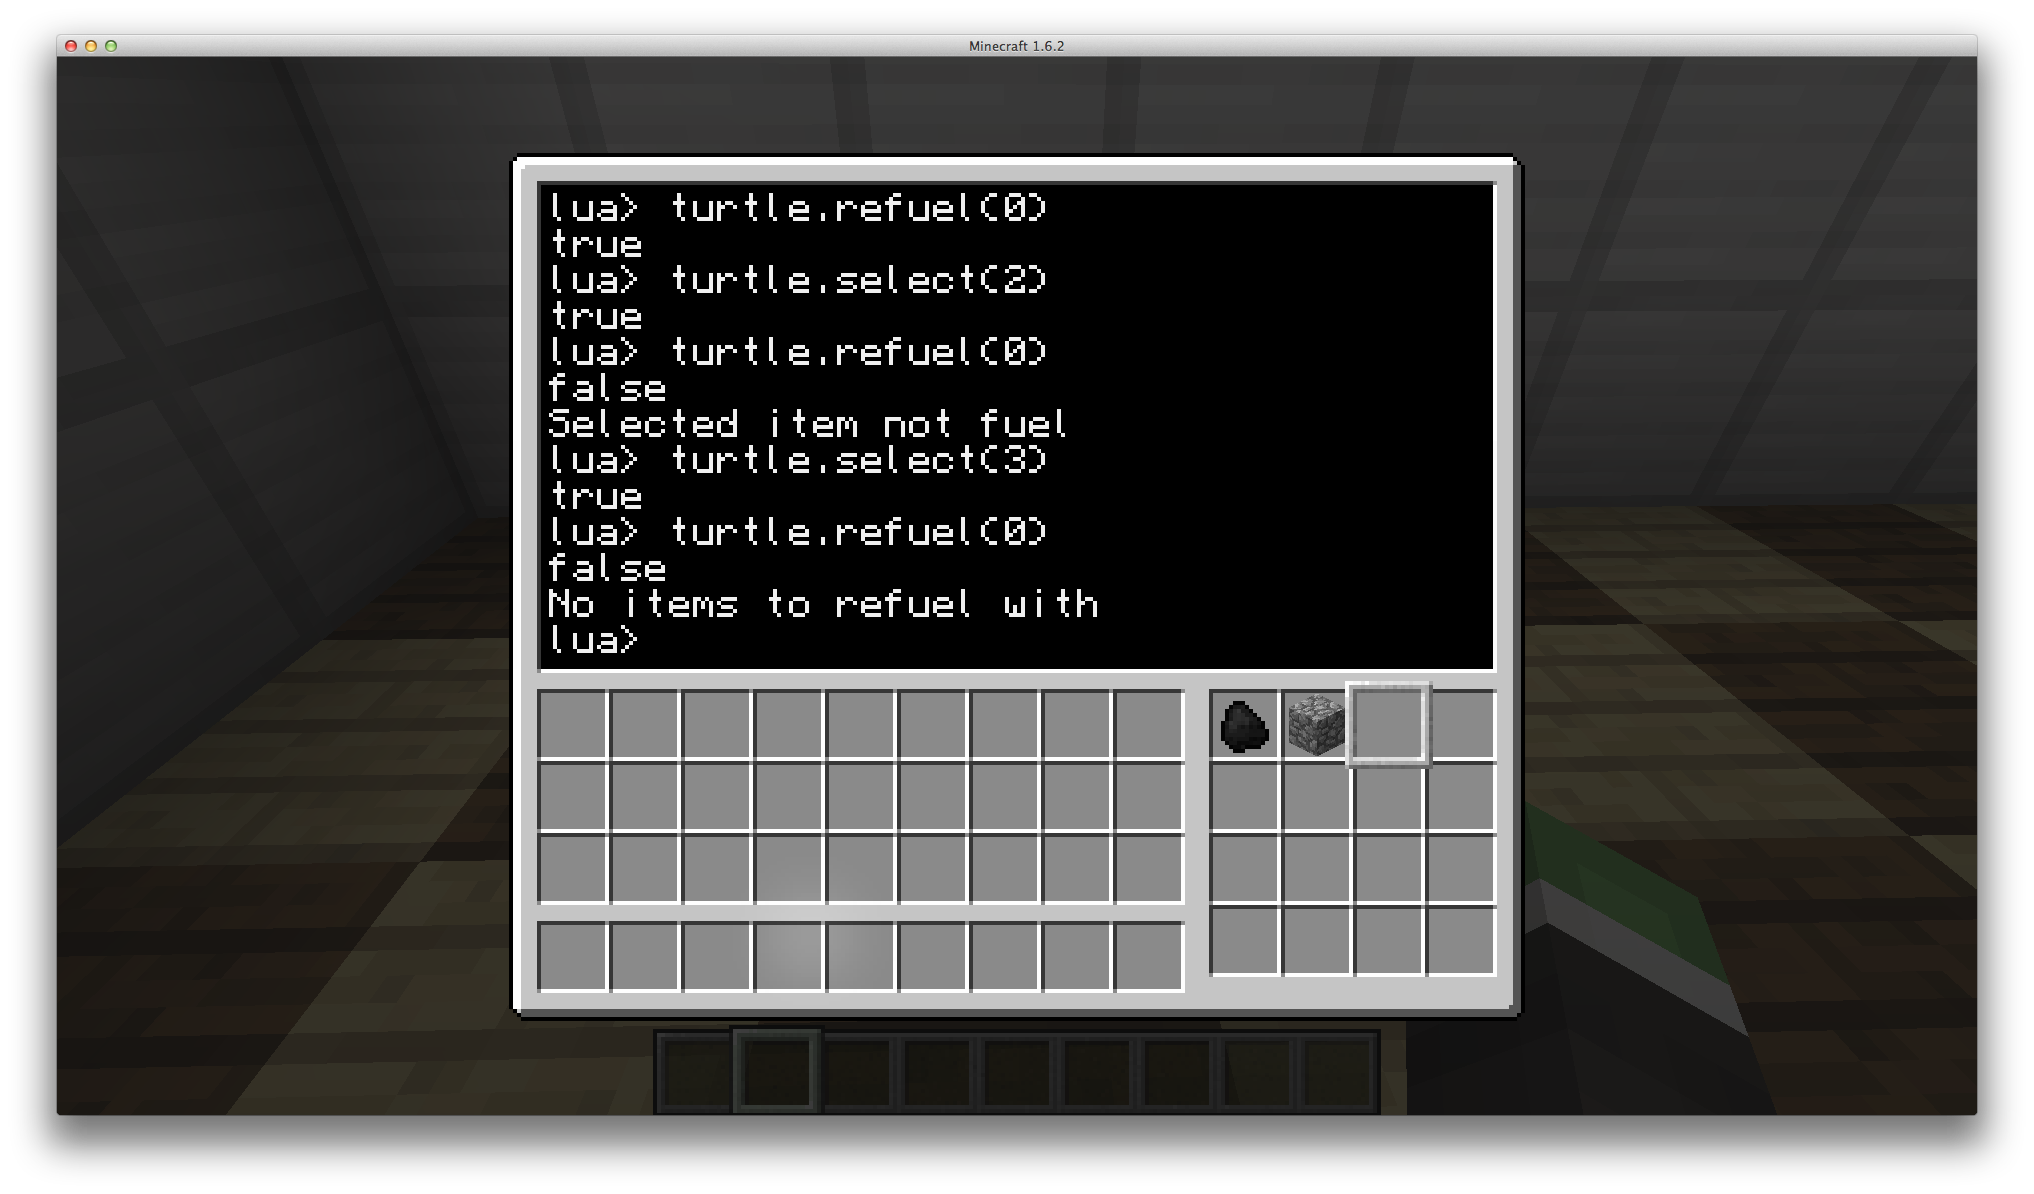
As of ComputerCraft 1.5 we are now able to specify an amount of 0. If we supply an amount of 0, no fuel will be consumed, but there will still be a boolean returned on success. This is useful as there will be no success on any items that are not an acceptable fuel source. Try this now, place a piece of coal in slot one (1) and place a piece of cobblestone in slot two (2). Now make sure that the first slot is selected and type turtle.refuel(0) and press enter. You will notice that it does not consume the coal, and outputs true to the prompt. Now select the second slot and again type turtle.refuel(0) and press enter. You will now notice that it actually printed two lines, the first is that the function returned false, the second is a message stating that the selected item is not a fuel source. This message will be different for empty slots too, try this now, select and empty slot and check if it is a valid fuel source. You should get false and the following message
Now lets create a basic program that goes through the Turtle's inventory, checking if the item in the slot is a valid fuel source, and if it is refuelling the turtle with it. Exit the prompt and create a new program called `refuelling`. Then add the following code
for i = 1, 16 do
  turtle.select(i)
  if turtle.refuel(0) then
	print("Slot "..i.." is valid fuel")
	turtle.refuel()
  end
end
In the above code block we create a loop that will loop from one (1) through to sixteen (16), which is the number of slots in the Turtle's inventory. We then select that slot and check if the item in that slot is a fuel source, when it is we print that we have found a valid fuel source and what slot it is, and then we consume the fuel.
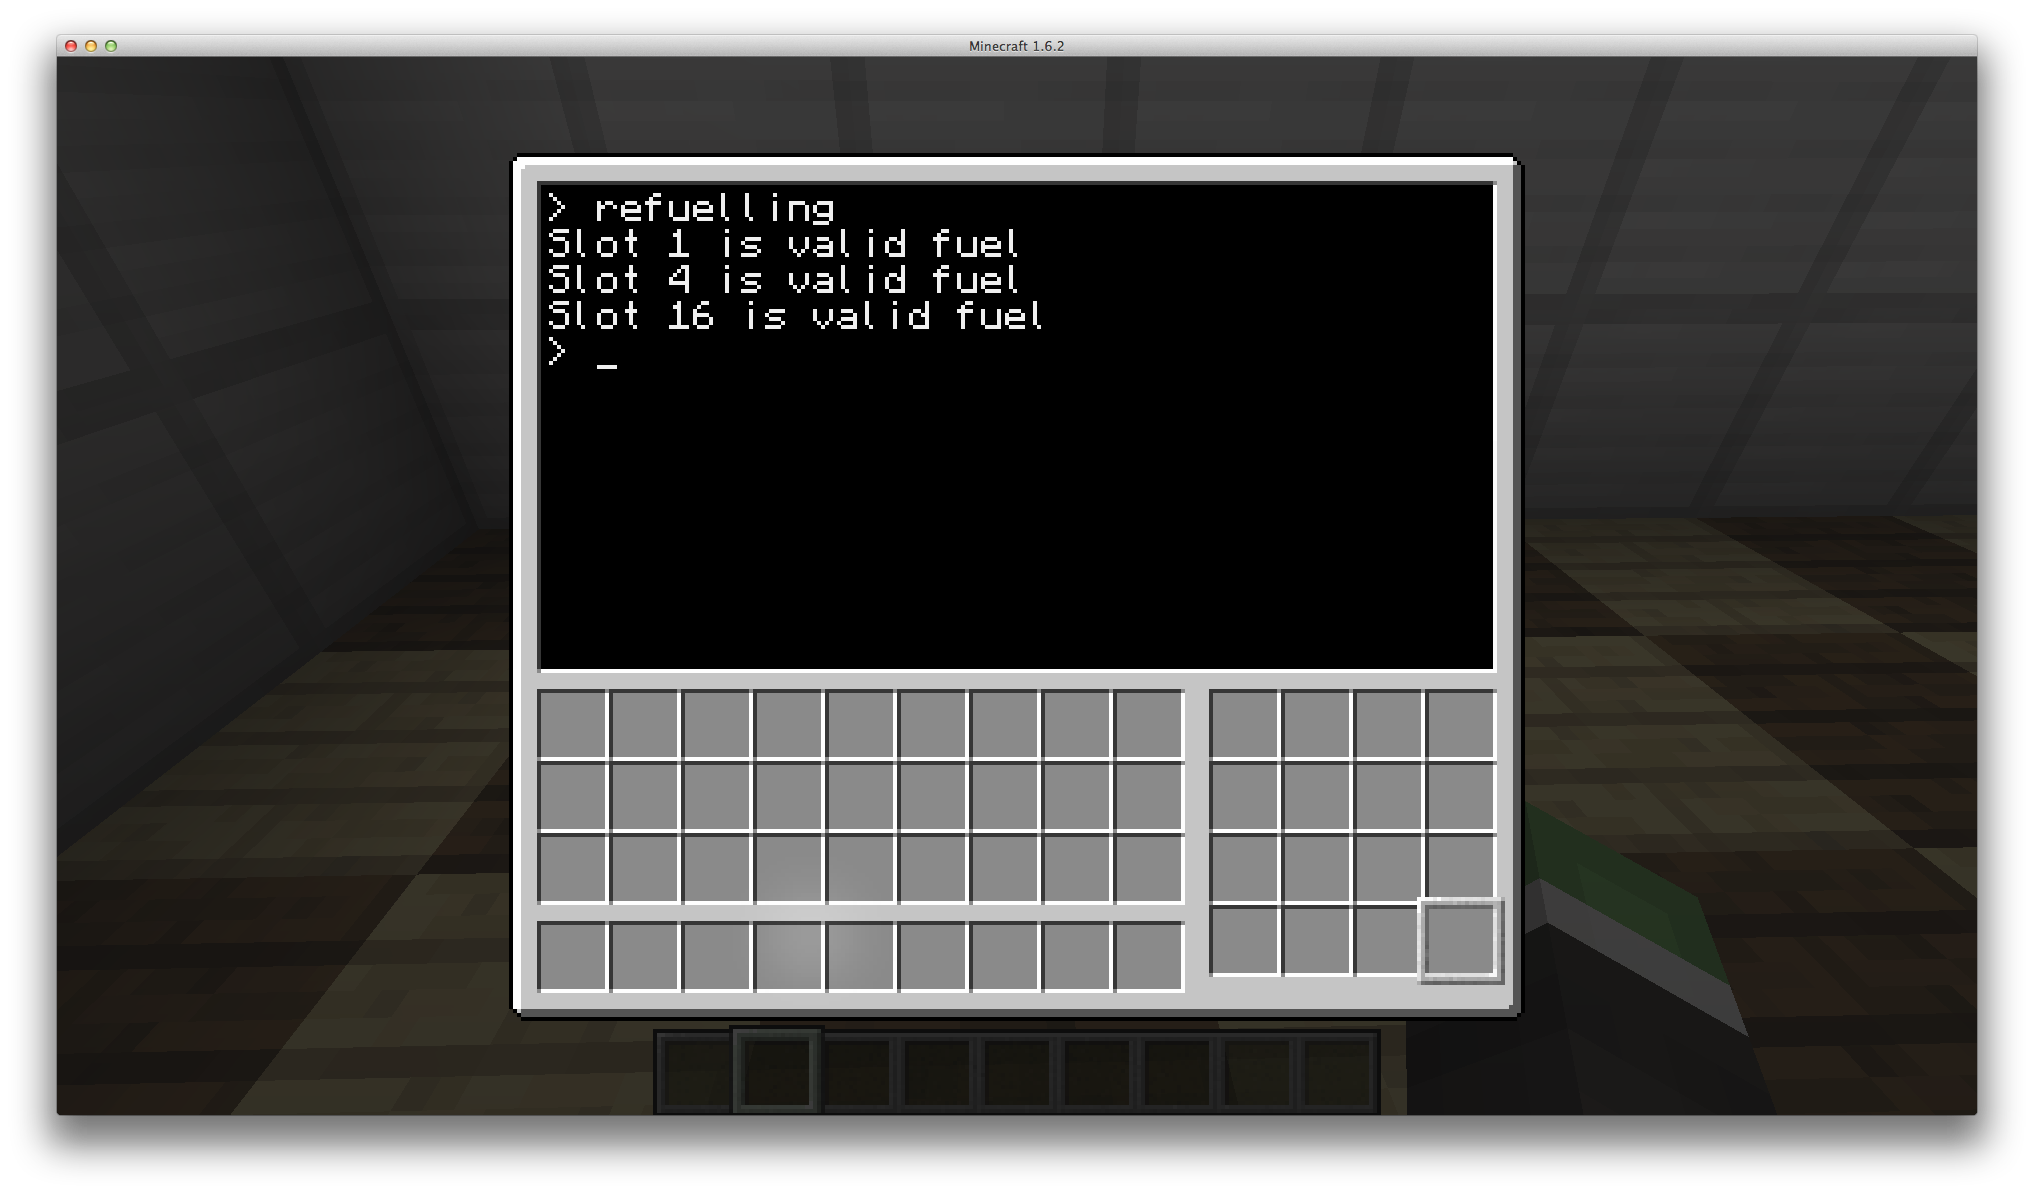
Place some coal in slots one (1), four (4) and sixteen (16) and run the program we just created. You should get an output like so.
Now that we know how to refuel a Turtle, lets move on.
getFuelLevel
Most times when we are interacting with the Turtle we wish to know it's fuel level, whether it's to see if we can move, or just how much fuel we have, as such we have the `getFuelLevel` function. The `getFuelLevel` function does exactly what it says it will, it returns us the fuel level. The number that is returned is related to how many blocks the Turtle can move, for example if the fuel level is eighty (80) the Turtle can move eighty (80) blocks before requiring more fuel. There are several different fuel sources for the Turtles, each one providing us with different fuel amounts, a list of these with their fuel values can be found here.
Open up the prompt and type turtle.getFuelLevel() and press enter. The prompt should then output the amount of fuel that is in your Turtle.
Note: If fuel is disabled in the configuration file this function will return the string "unlimited"
Now lets improve the last program we made. Lets make it attempt to get the fuel level up to a minimum of one thousand (1000) fuel. Make a new program called `limit` and enter the following code.
local limit = 1000

if turtle.getFuelLevel() > limit then
  print("The fuel level is: "..turtle.getFuelLevel())
  return
end

print("Attempting to get minimum 1000 fuel!")
for i = 1, 16 do
  turtle.select(i)
  if turtle.refuel(0) then
	turtle.refuel()
  end
  if turtle.getFuelLevel() >= limit then
	break
end
end

print("The new fuel level is: "..turtle.getFuelLevel())
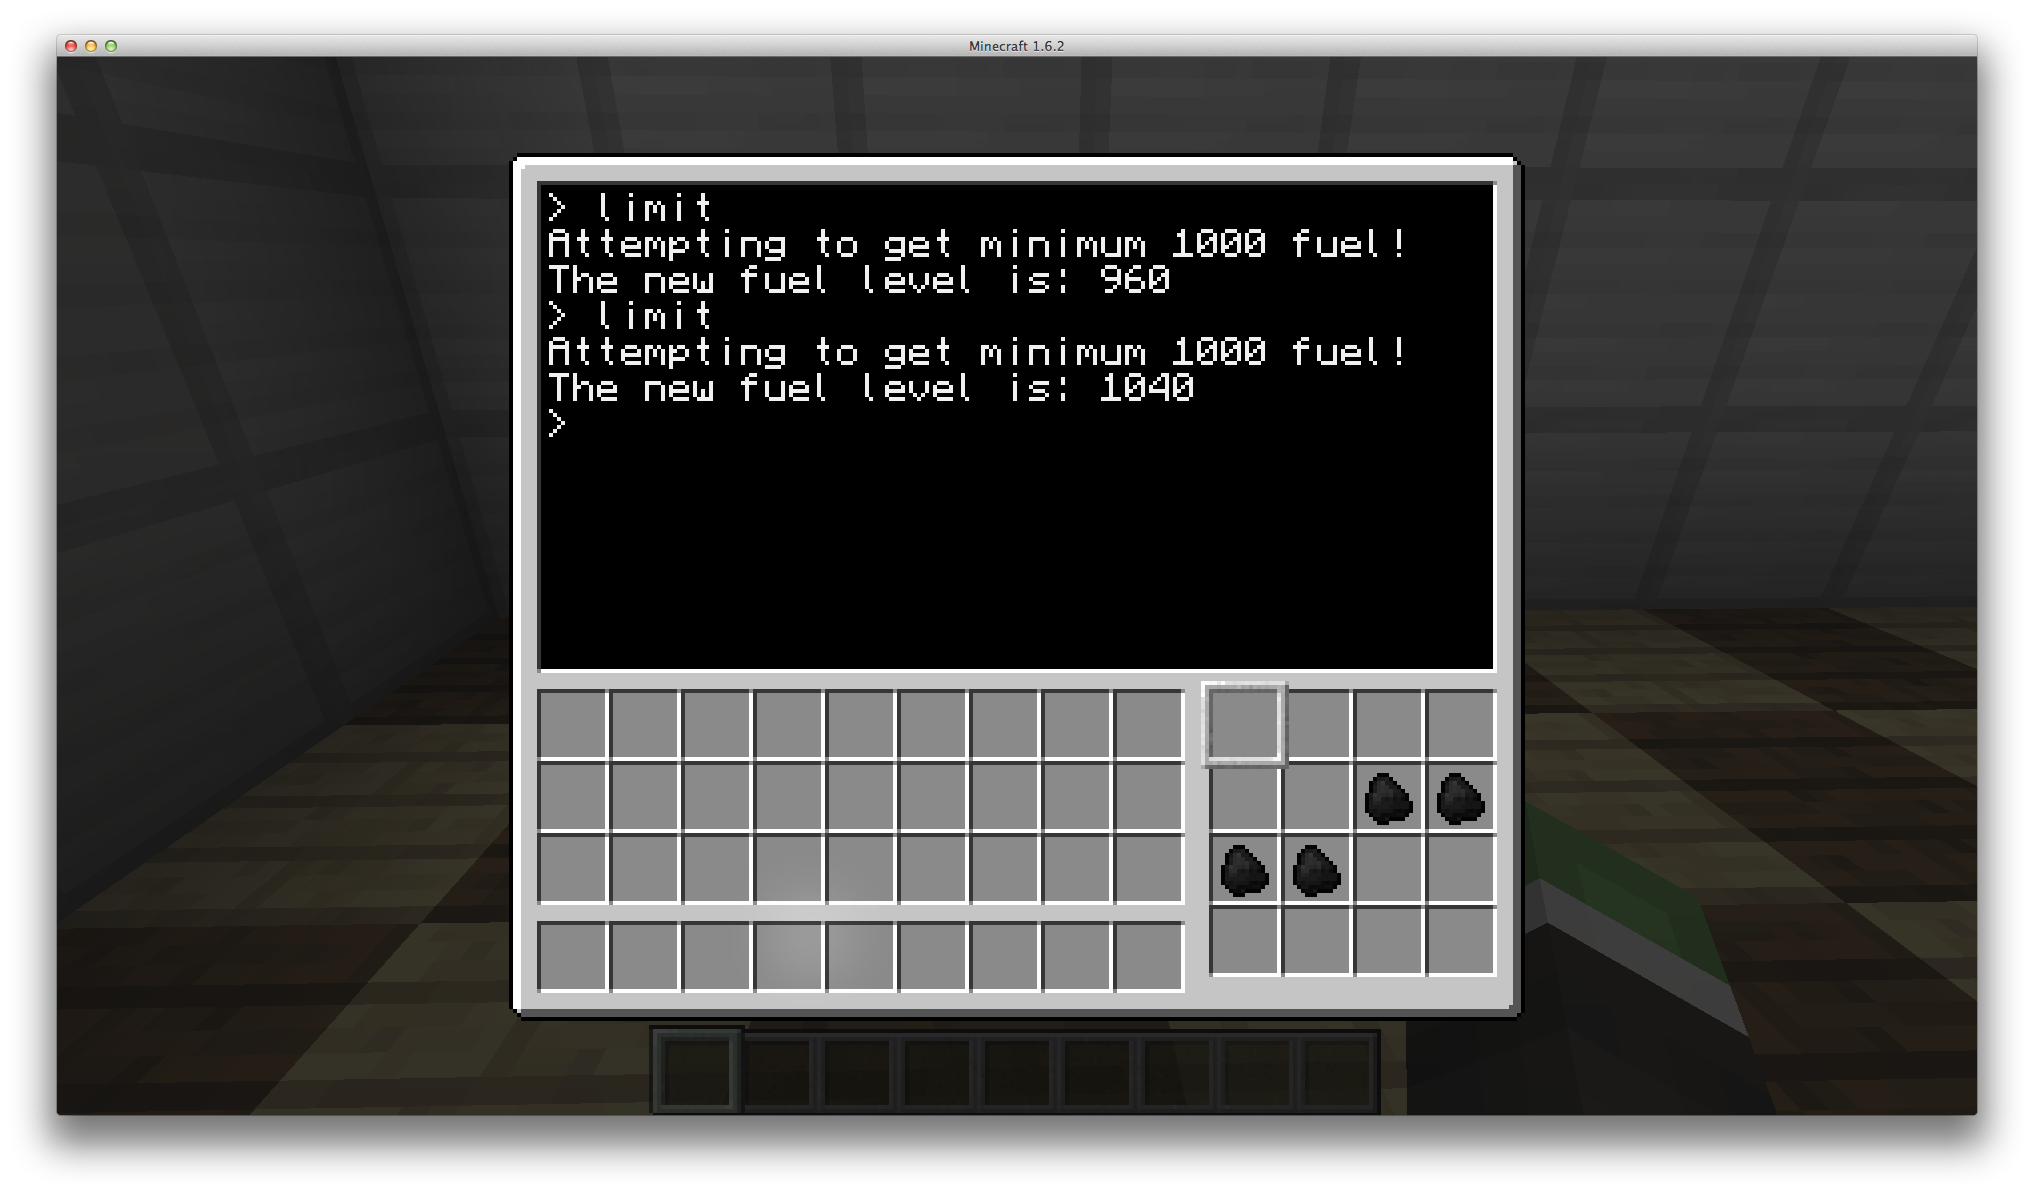
The above code may look like there is lots added at first glance, but there isn't much added, lets go through it now. First we check to see if the program actually needs to run by checking the fuel level, if the program doesn't need to run it will output the fuel level, otherwise it will continue. It then loops through the inventory slots just like before checking for fuel and using it when it comes across it. We have now added to the loop however a fuel level check, this will check if the fuel level is equal to or greater than to limit we set, and if it is will stop the loop as we don't want more fuel. We then output to the user what the new fuel level is.
Place another four (4) pieces of fuel in individual slots on the turtle and run the program again. Unless you have used more fuel in the section `refuel` then you should have a value output that is below one thousand (1000). Now run the program again with ten (10) pieces of coal in separate slots. It should now not consume all the fuel and out have a fuel level of one thousand and forty (1040).
Congratulations, you now know how to effectively refuel a Turtle! Now lets put that fuel to a use.
move
A Turtle wouldn't be much good to us if it couldn't move would it. As such we have four (4) movement functions, `forward` which moves the Turtle forwards and `back` which moves the Turtle backwards, `up` which moves the Turtle up, and `down` which, yep you guessed it, moves the Turtle down.
First lets get the Turtle to move forwards and backwards.
Make sure that the Turtle has an open space in front and behind it like so
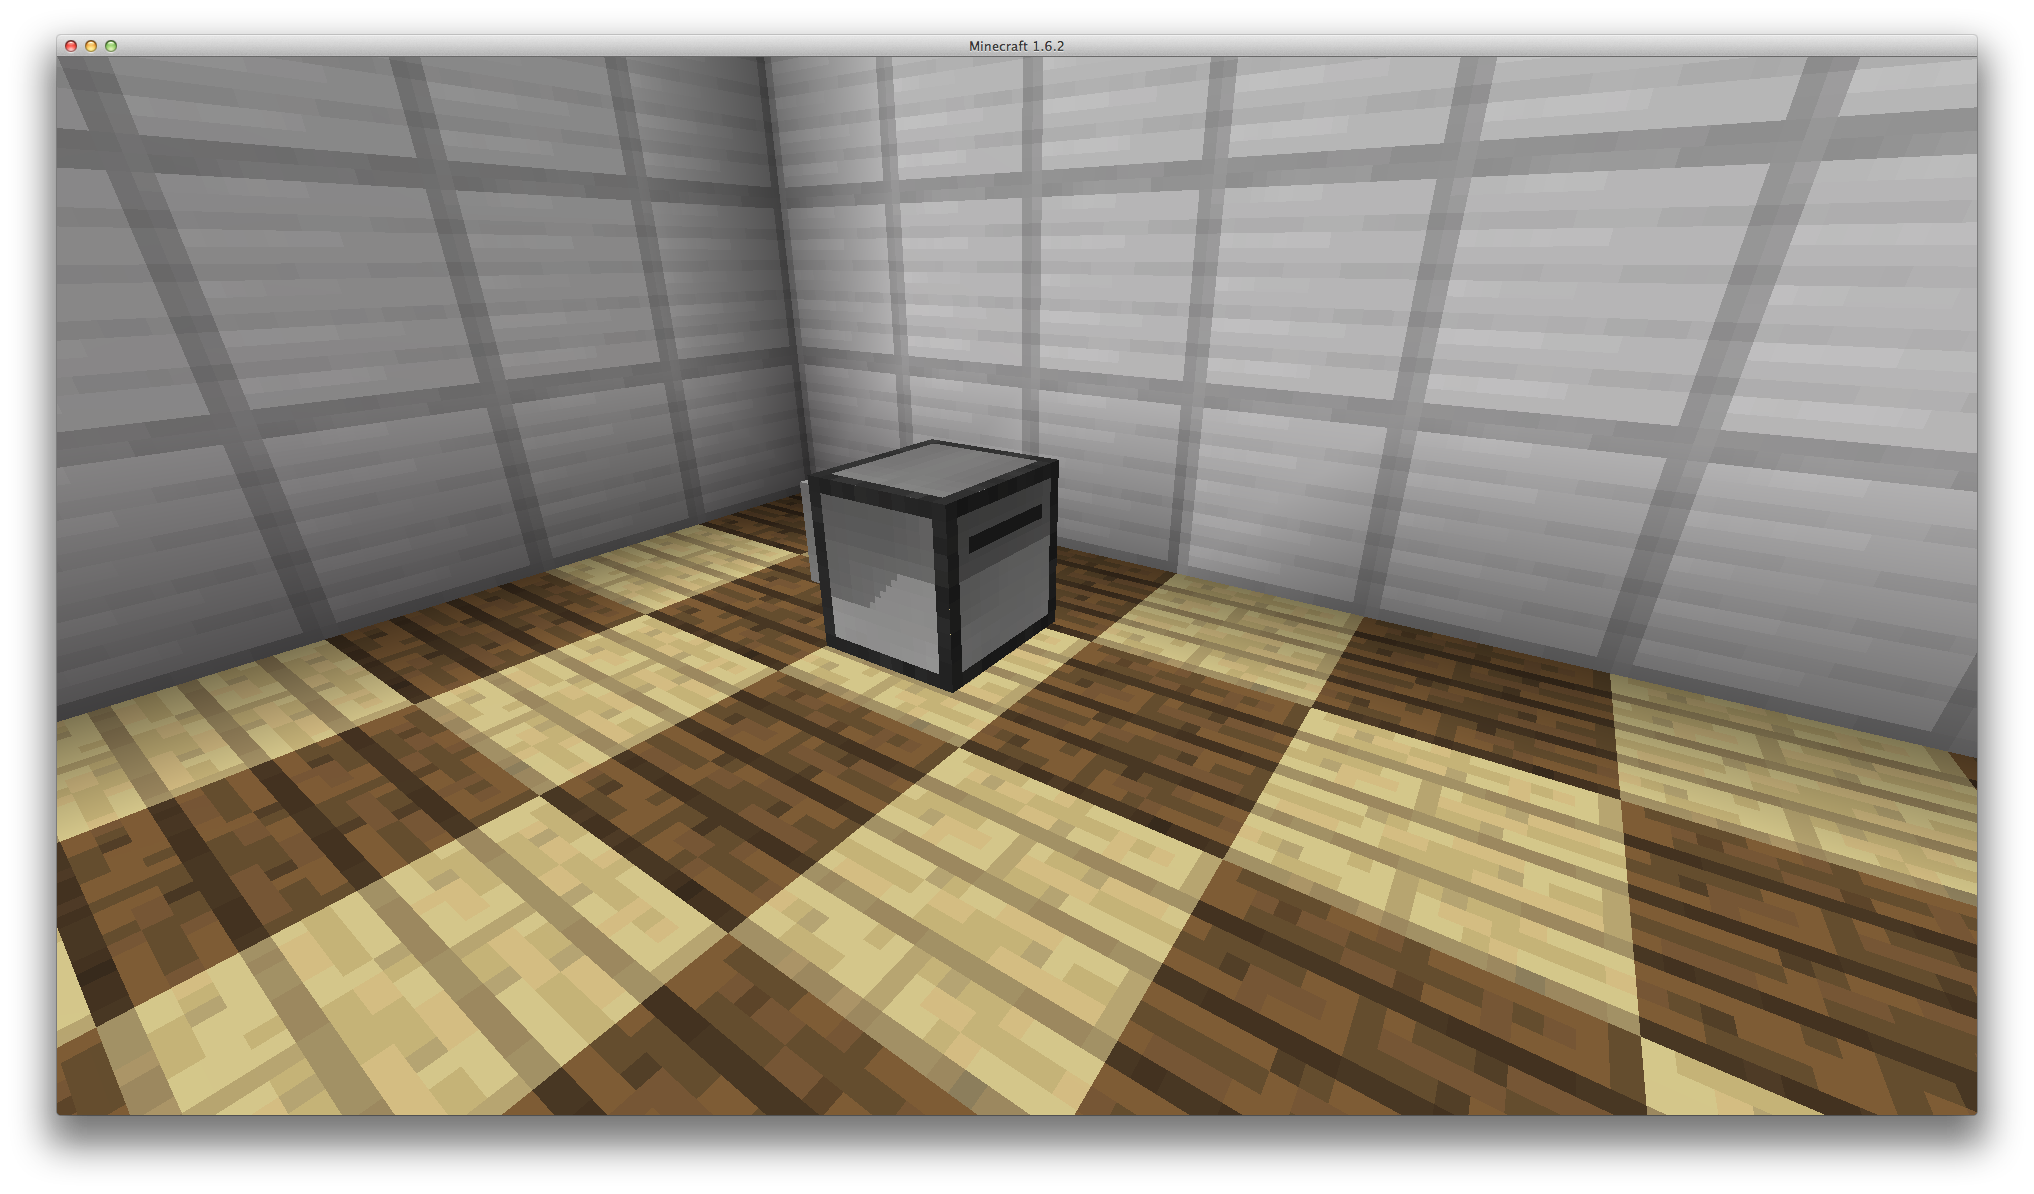
Open the prompt again and type turtle.forward() then press enter, you should now notice that it output true, this means that the Turtle has successfully moved, if it outputs false it means that something is stopping the Turtle from moving. If you close the Turtle's GUI you should now notice that it is in a different location, depending on where you were standing you may have even seen it move.
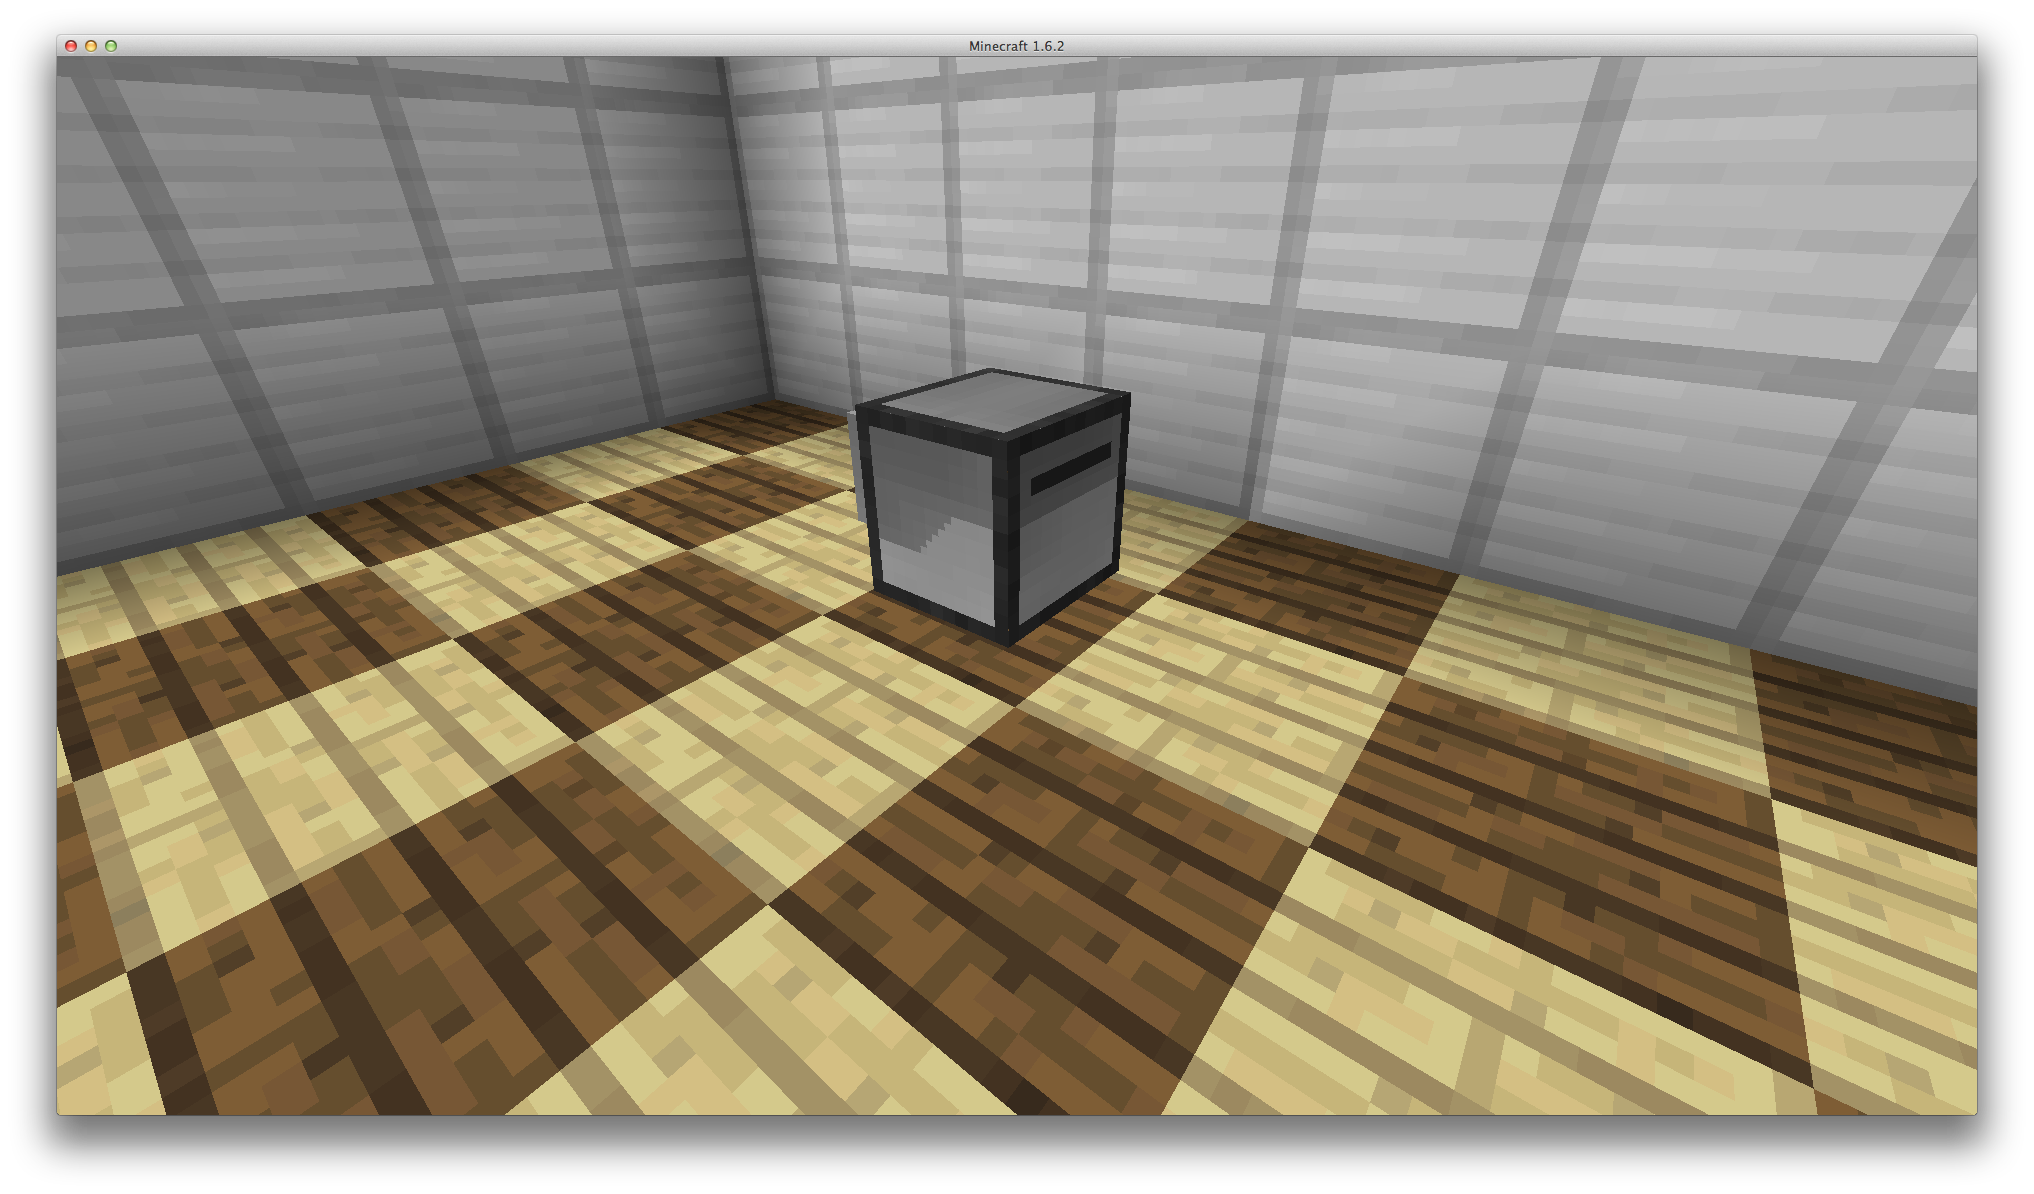
As you can tell by where the Turtle is now positioned it has moved forward one (1) block, using the `back` function will also move the Turtle one (1) block backwards, give this a try now, type turtle.back() and press enter. I will take a short pause in the tutorial here to allow you to play with moving the Turtle forward and backwards.
The `forward` and `back` functions do not allow us to specify how many times we wish the Turtle to move, as such we must use a loop to tell the Turtle to move. Try writing a loop now to get the Turtle to move forwards 6 blocks and then back 3.
Solution
Spoiler
for i = 1, 6 do
  turtle.forward()
end

for i = 1, 3 do
  turtle.back()
end
Now lets get the Turtle to move up and down.
Type turtle.up() in the prompt and press enter, if you now check the Turtle should be one (1) block above the ground, like so
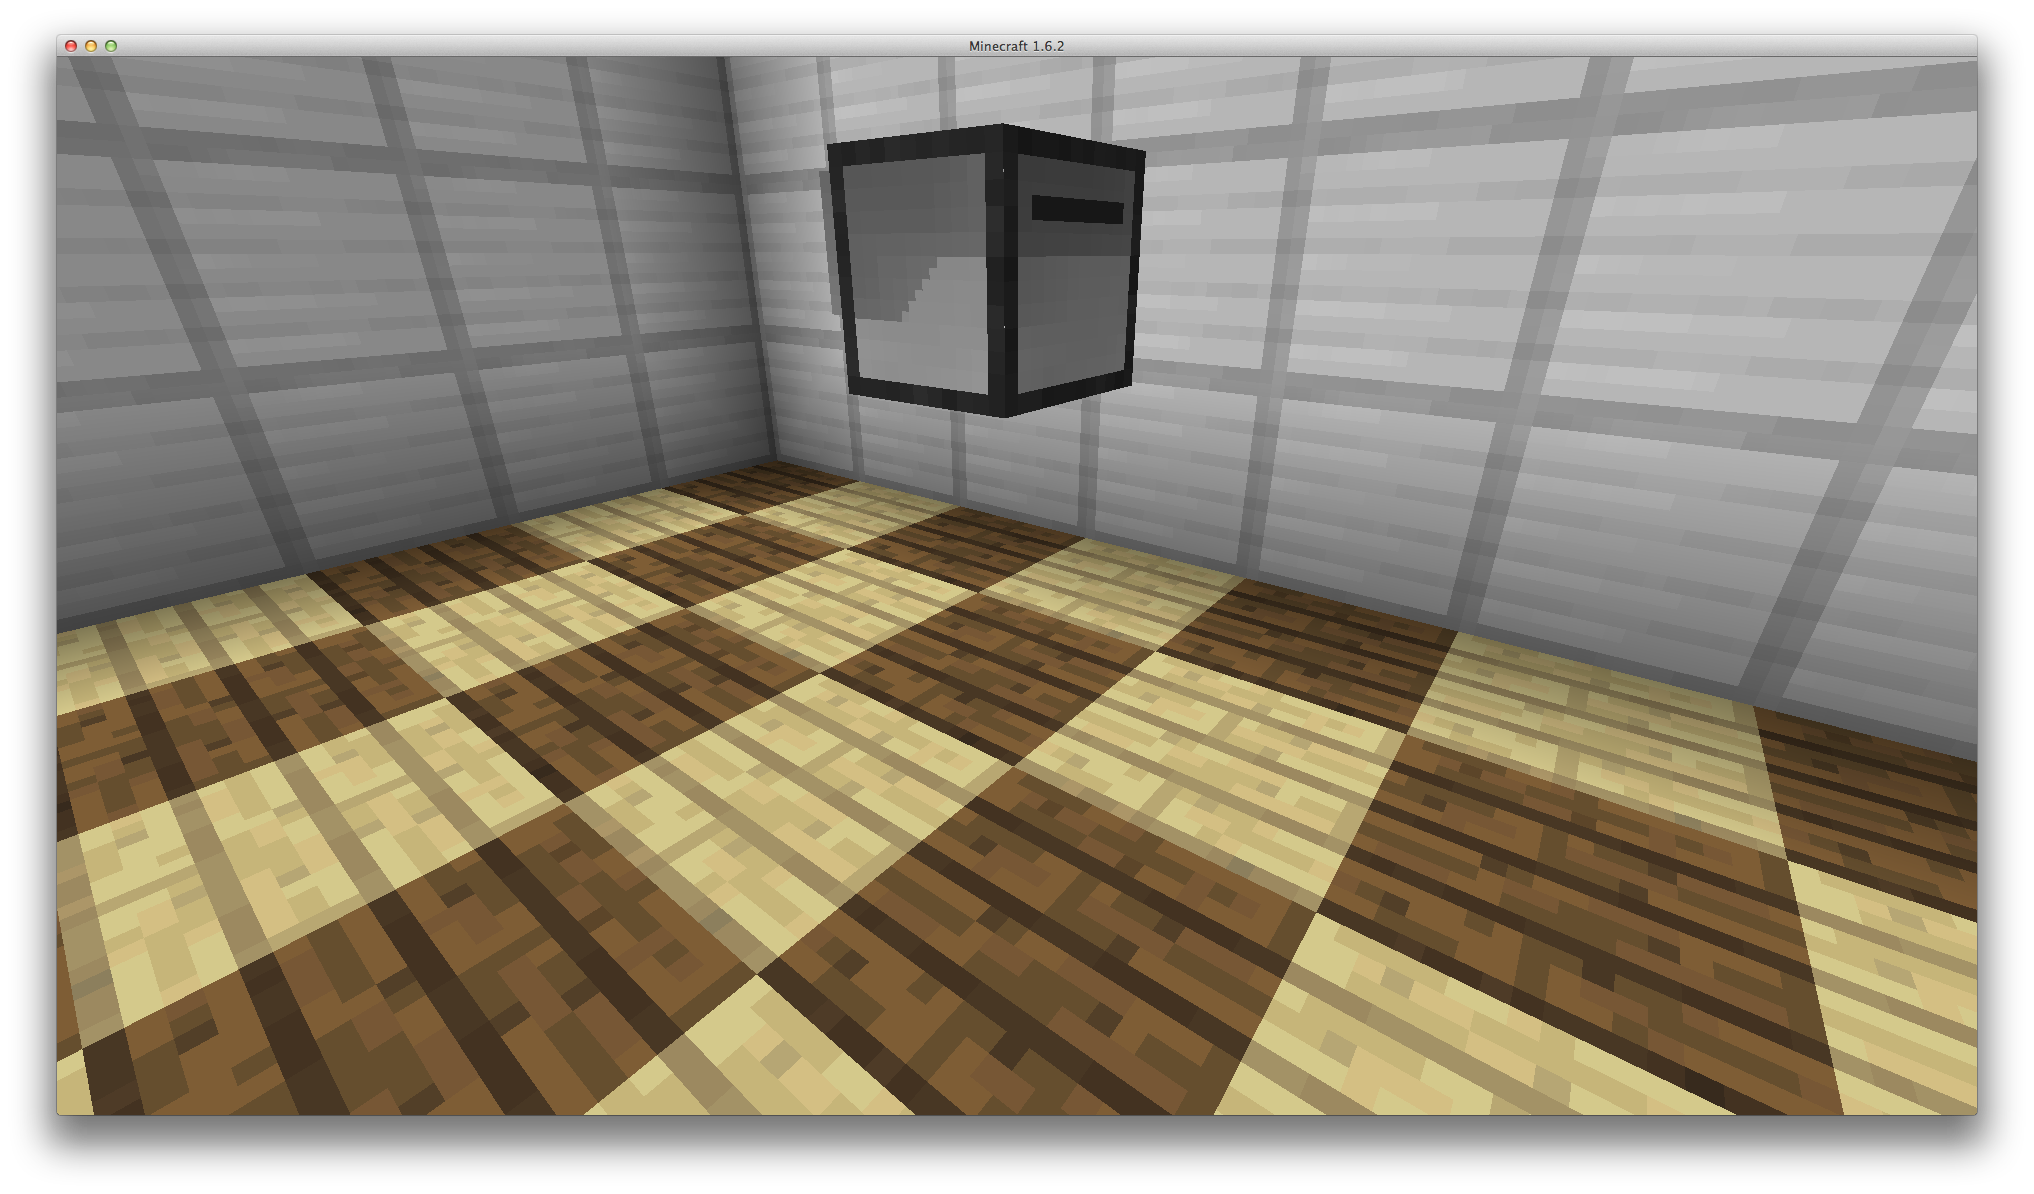
Now type turtle.down() and press enter to move the Turtle back to the ground.
I will take a minute here to let you play with these four (4) movement functions.
turn
Being able to tell the Turtle to move forwards and backwards is good, but sometimes we don't want to only move it in straight lines, so for this we use the `turnLeft` and `turnRight` functions to tell the Turtle to turn. Lets do this now.
Open the prompt if it is not already open and type in turtle.turnRight() then press enter, you will notice that it returned true and if you close the Turtle's GUI you will notice that it has turned to it's right like so.
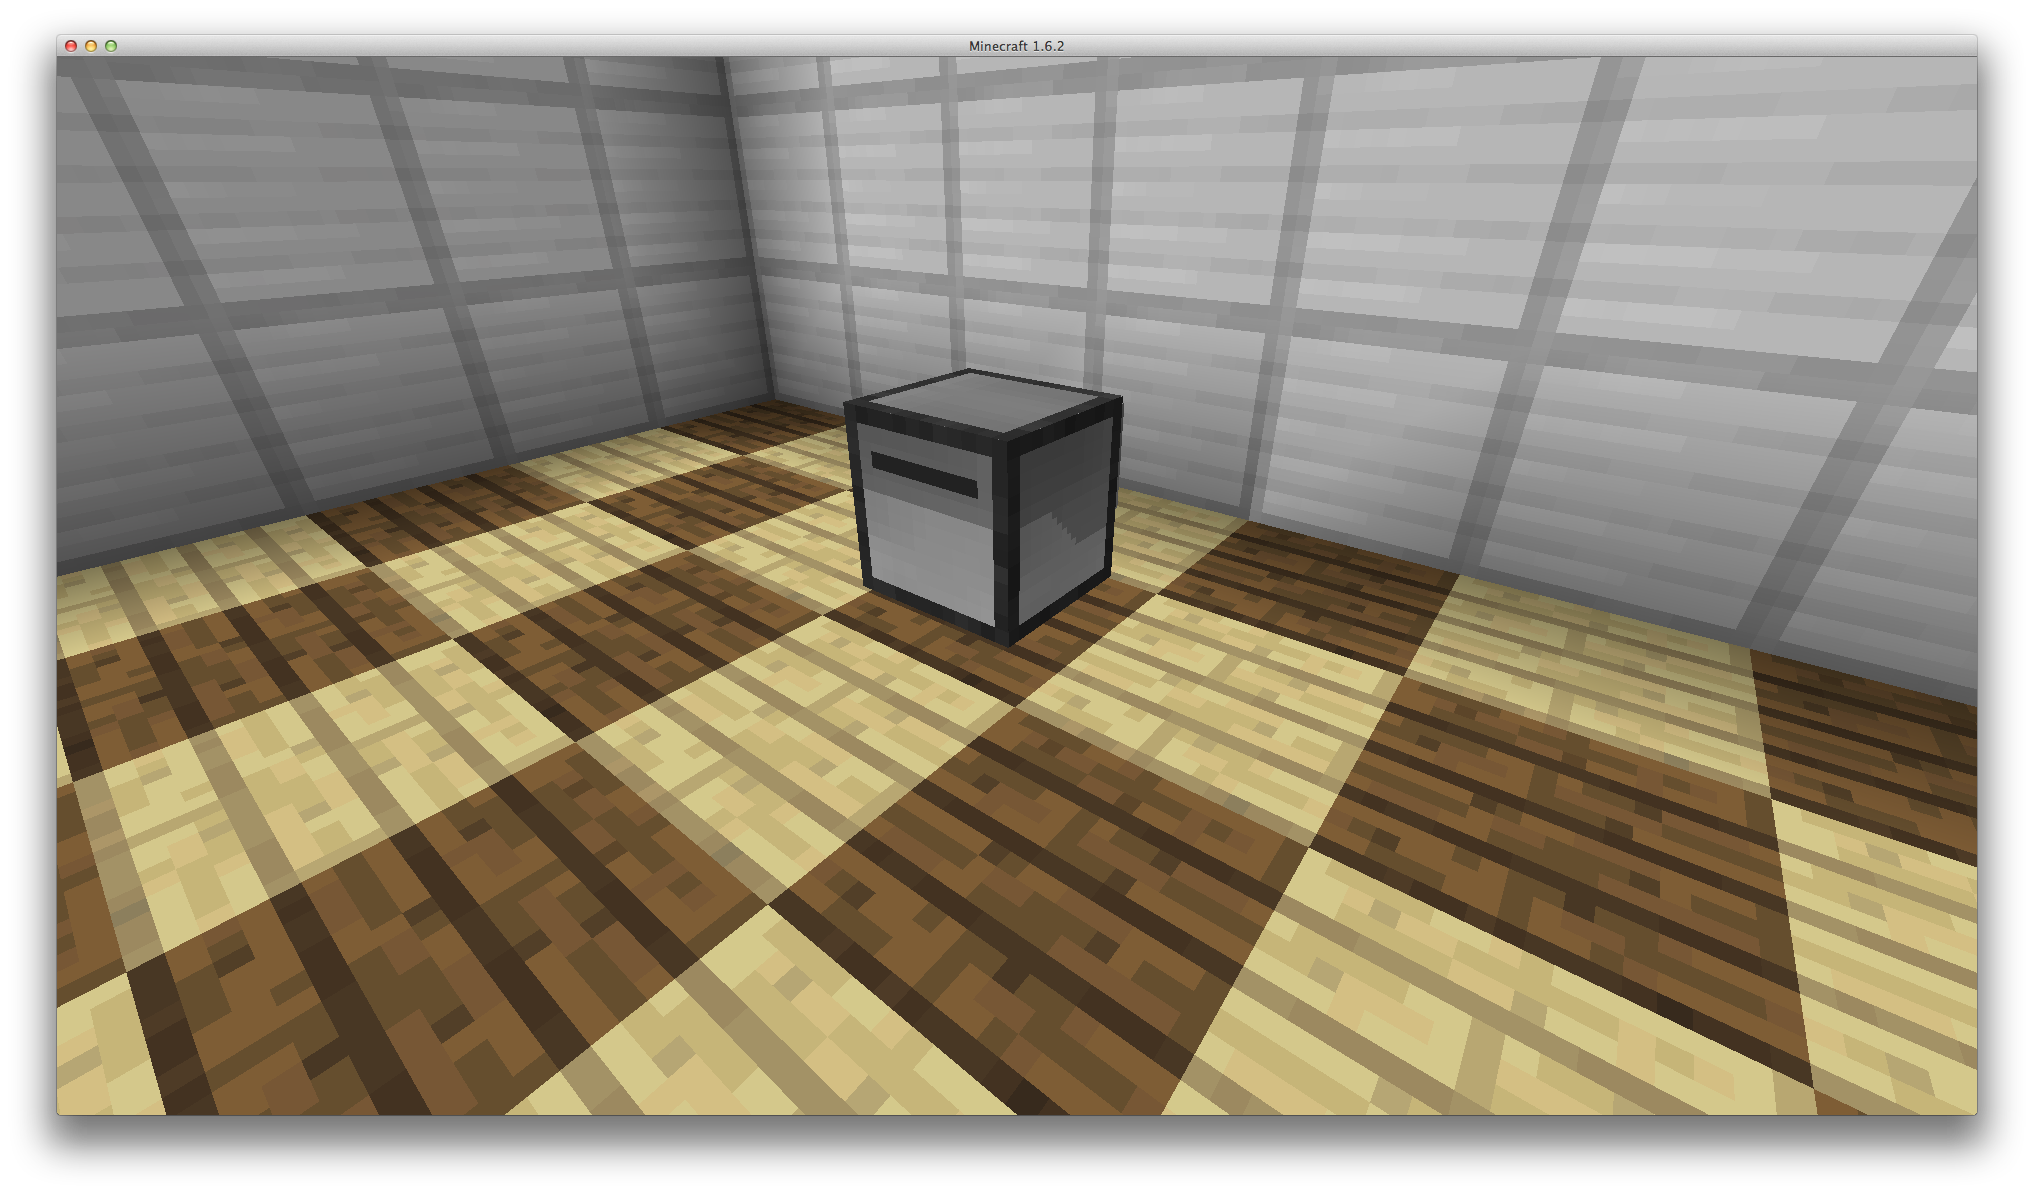
Now turn the Turtle back to the direction it was facing by typing turtle.turnLeft() and pressing enter, the Turtle should now have turned back to the direction it was originally facing.
I shall take another short pause in the tutorial to allow you to play with turning the Turtle and moving it around in a non-straight line.
dig
Being able to move a Turtle around the world can come in quite handy, however being able to get the Turtle to do things can be even more useful. In this section we will be getting the Turtle to dig for us using the `dig`, `digUp`, and `digDown` functions. Before we begin, we will need to place down a new Turtle, place down a Mining Turtle and make sure that there are three (3) blocks around it, one (1) in front, one (1) above, and one (1) below it. Something like so will do
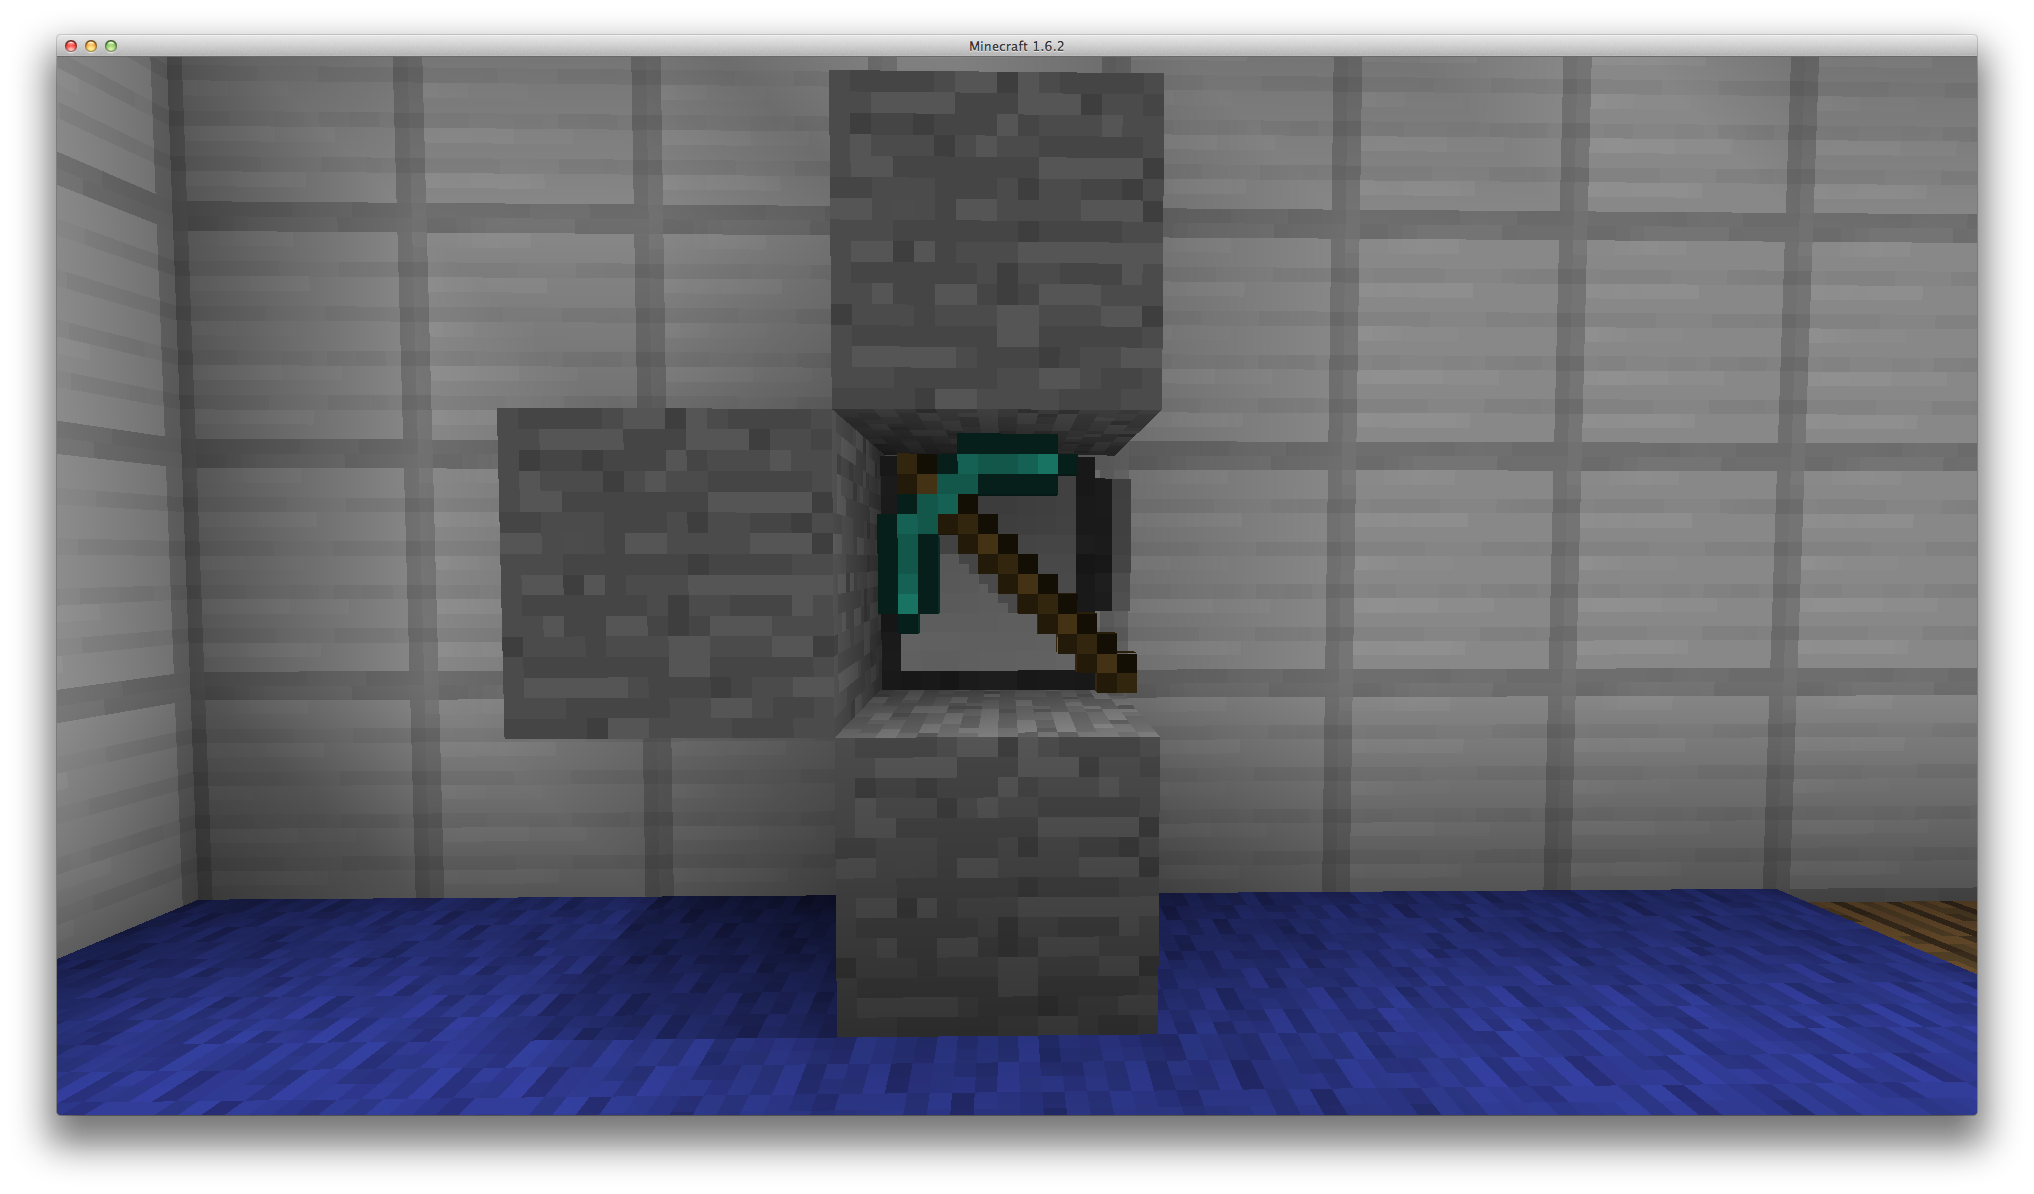
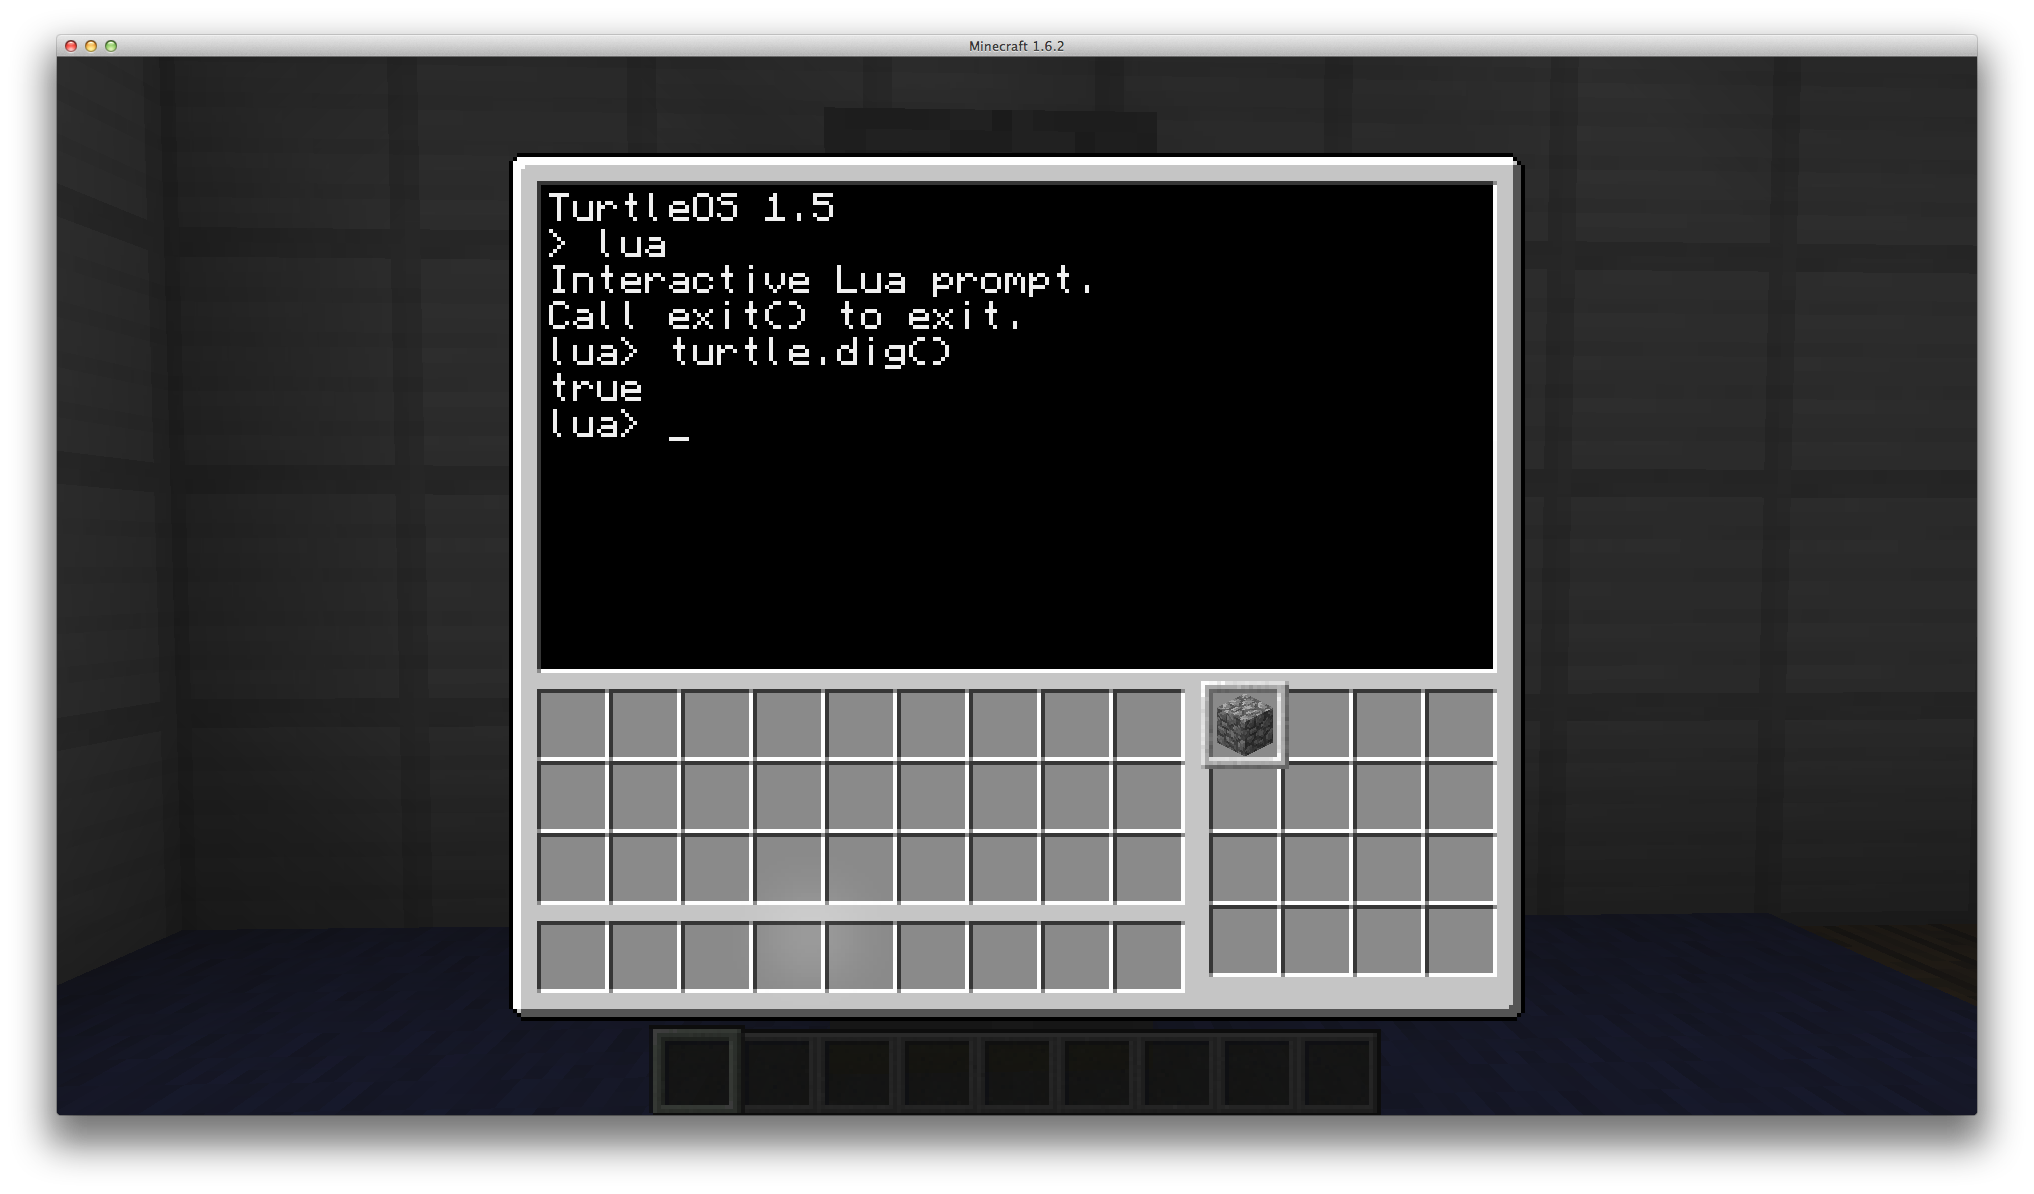
Now open the Lua Prompt, type turtle.dig() and press enter, you will notice that the function has returned true and that there is now a piece of cobblestone in the currently selected slot
Now do the same with the block on the top by typing turtle.digUp() and on the bottom by typing turtle.digDown() if you check now in the world there should be none of those blocks around the Turtle and it should now have three (3) blocks inside of its inventory. If a Turtle cannot break the block in front of it when calling any of the `dig` functions they will return false, if you attempt to dig when there is no block, it will also return a second value, a message, that states "Nothing to dig here".
Note: A Turtle will break any block you tell it to (except bedrock), however be aware that if the tool isn't designed to break that material you will loose it and it will not be in the Turtle's inventory.
Note 2: When `dig` is used with a hoe on a block of dirt, it will turn that block of dirt into farm land.
Now lets test this in a program, place five (5) blocks in front of the turtle and five (5) blocks above those, and make sure there is some fuel in the Turtle.
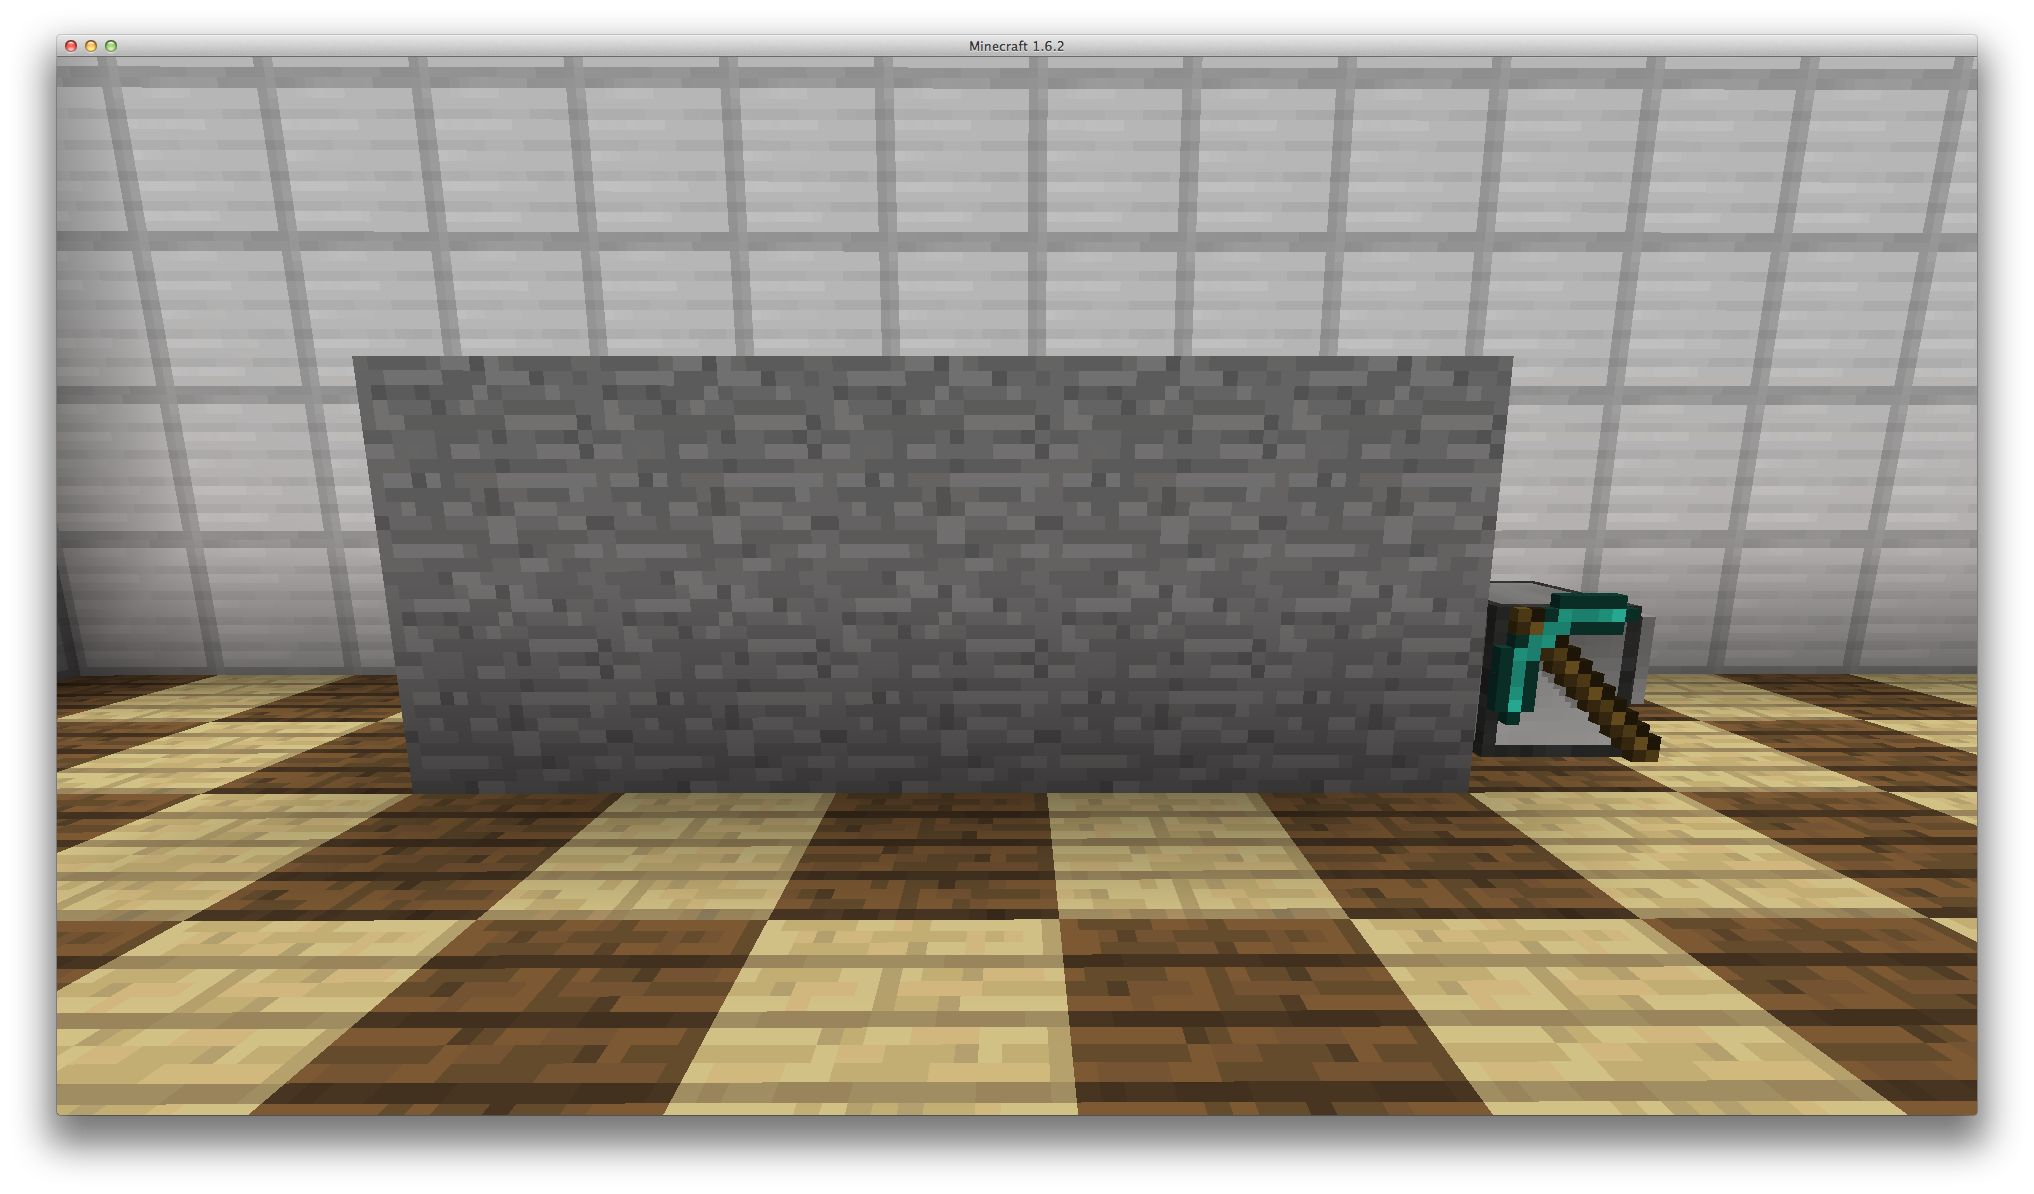
Next lets make a new program called `digAndMove` and add some code to loop 5 times that digs the block in front of it, moves forward, and then digs the block that is on top of it.
for i = 1, 5 do
  turtle.dig()
  turtle.forward()
  turtle.digUp()
end
Run this code and watch the Turtle clear away all that stone.
Congratulations, you just made you first simple mining Turtle!
place
Now that we know how to get the Turtle to move around, and also how to remove blocks, lets learn how to get it to build. In order for the Turtle to place blocks we use three (3) functions, `place`, `placeUp`, and `placeDown`. Give your Turtle some cobblestone, make sure that it is one block off the ground and there is space in front and above it, make sure that the selected inventory slot is the cobblestone, and lets begin.
Open the Lua Prompt if it isn't already open and type turtle.place() then press enter, you should have noticed that the cobblestone has decreased by one, and that there is now a block of cobblestone in front of the Turtle. Now do the same with placing a block above by using turtle.placeUp() and placing a block below with turtle.placeDown(). You should now have something like this
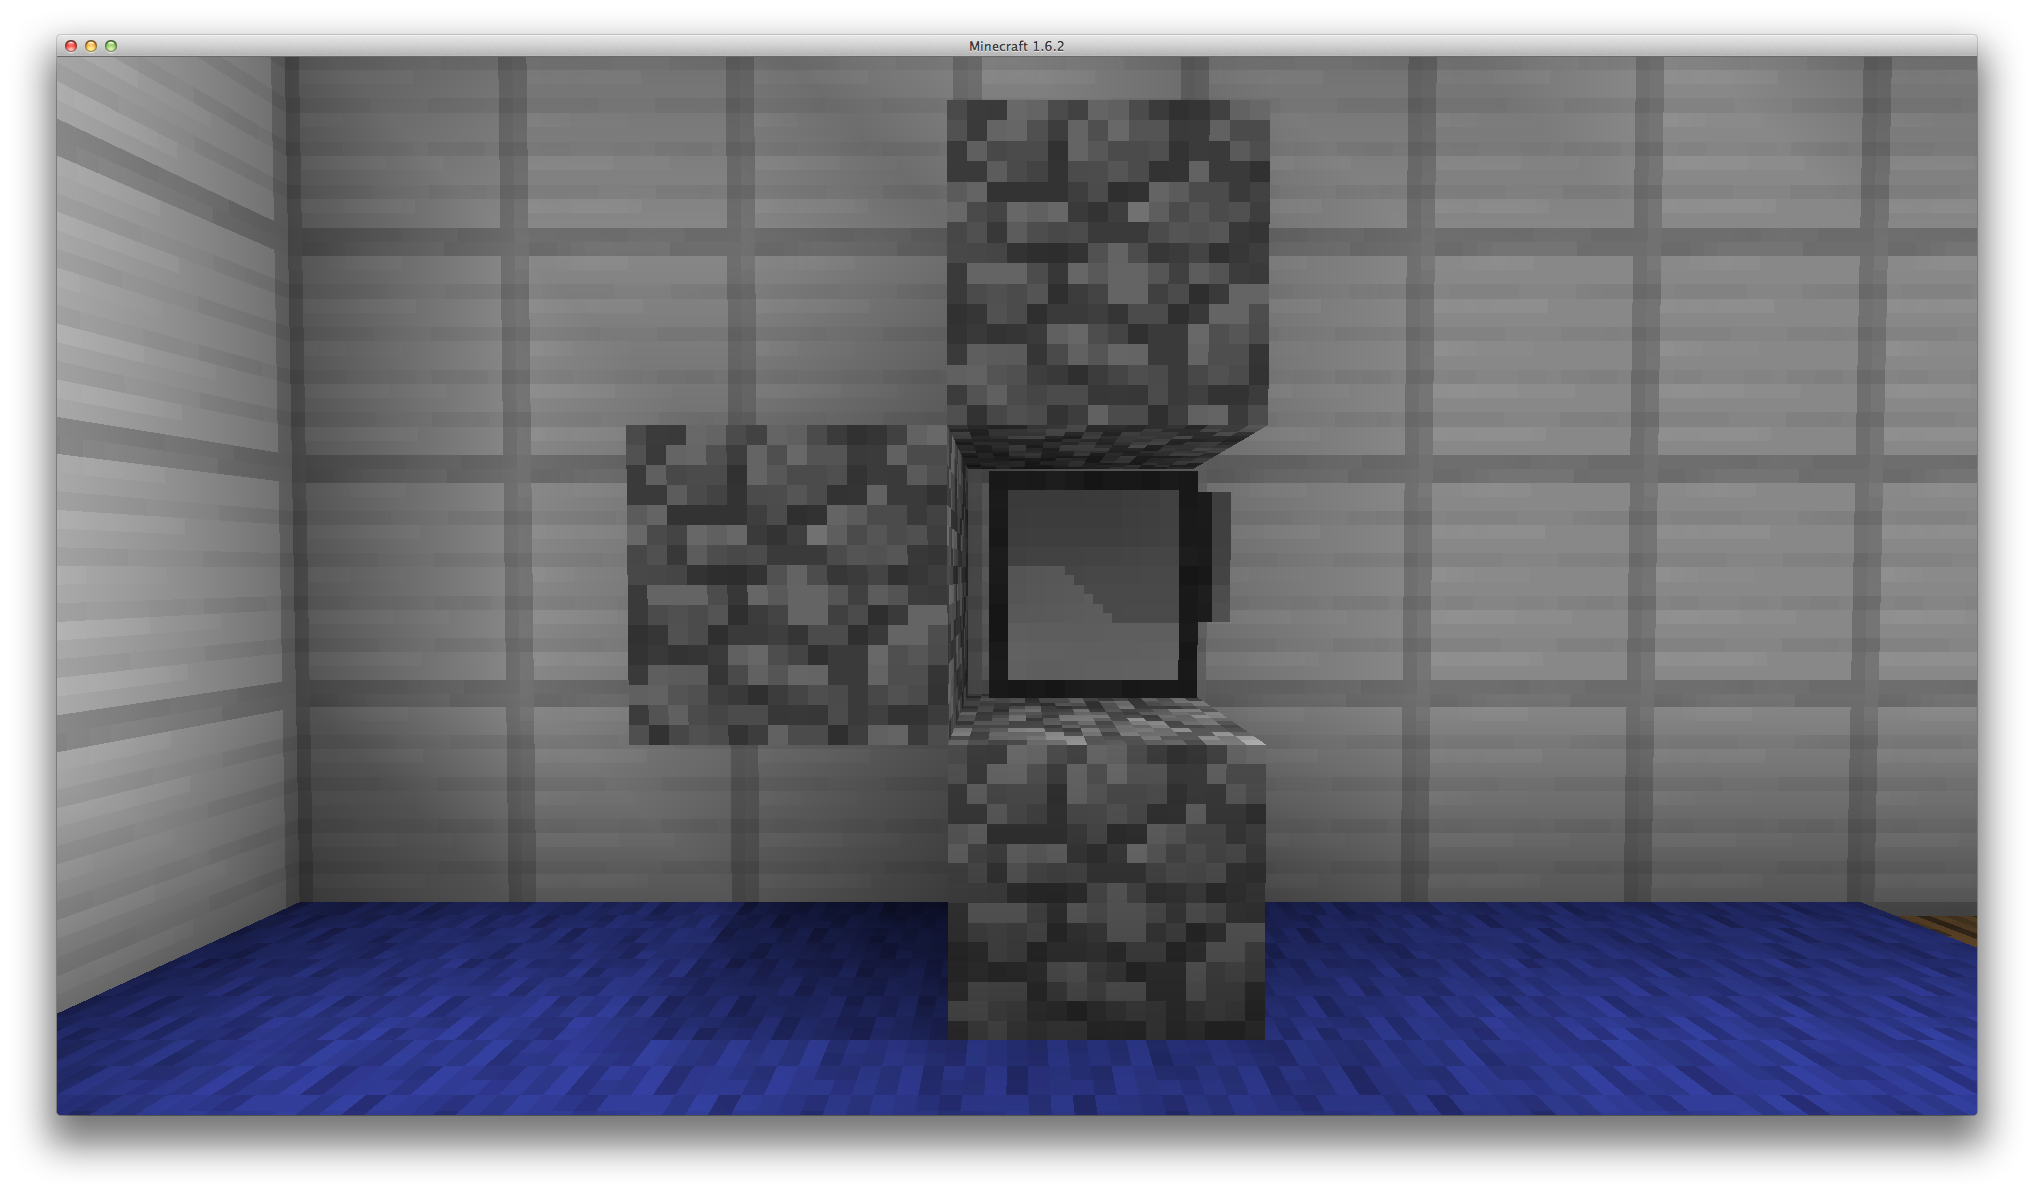
Have a play around now with getting your Turtle to move around placing blocks above, below, and in front of it. If you attempt to place a block, and it cannot be placed in that location, the placement functions will return false, as well as a message, "Cannot place block here".
The `place` function also has the ability to accept one argument, this is used when placing signs and it specifies the text that will go on the sign. Lets try this now, give the Turtle a sign and make sure that it will be able to place the sign in front of it. Now in the prompt types turtle.place("Turtle Basics\nTutorial") and press enter. The Turtle should have placed a sign in front of it with the text you specified like so.
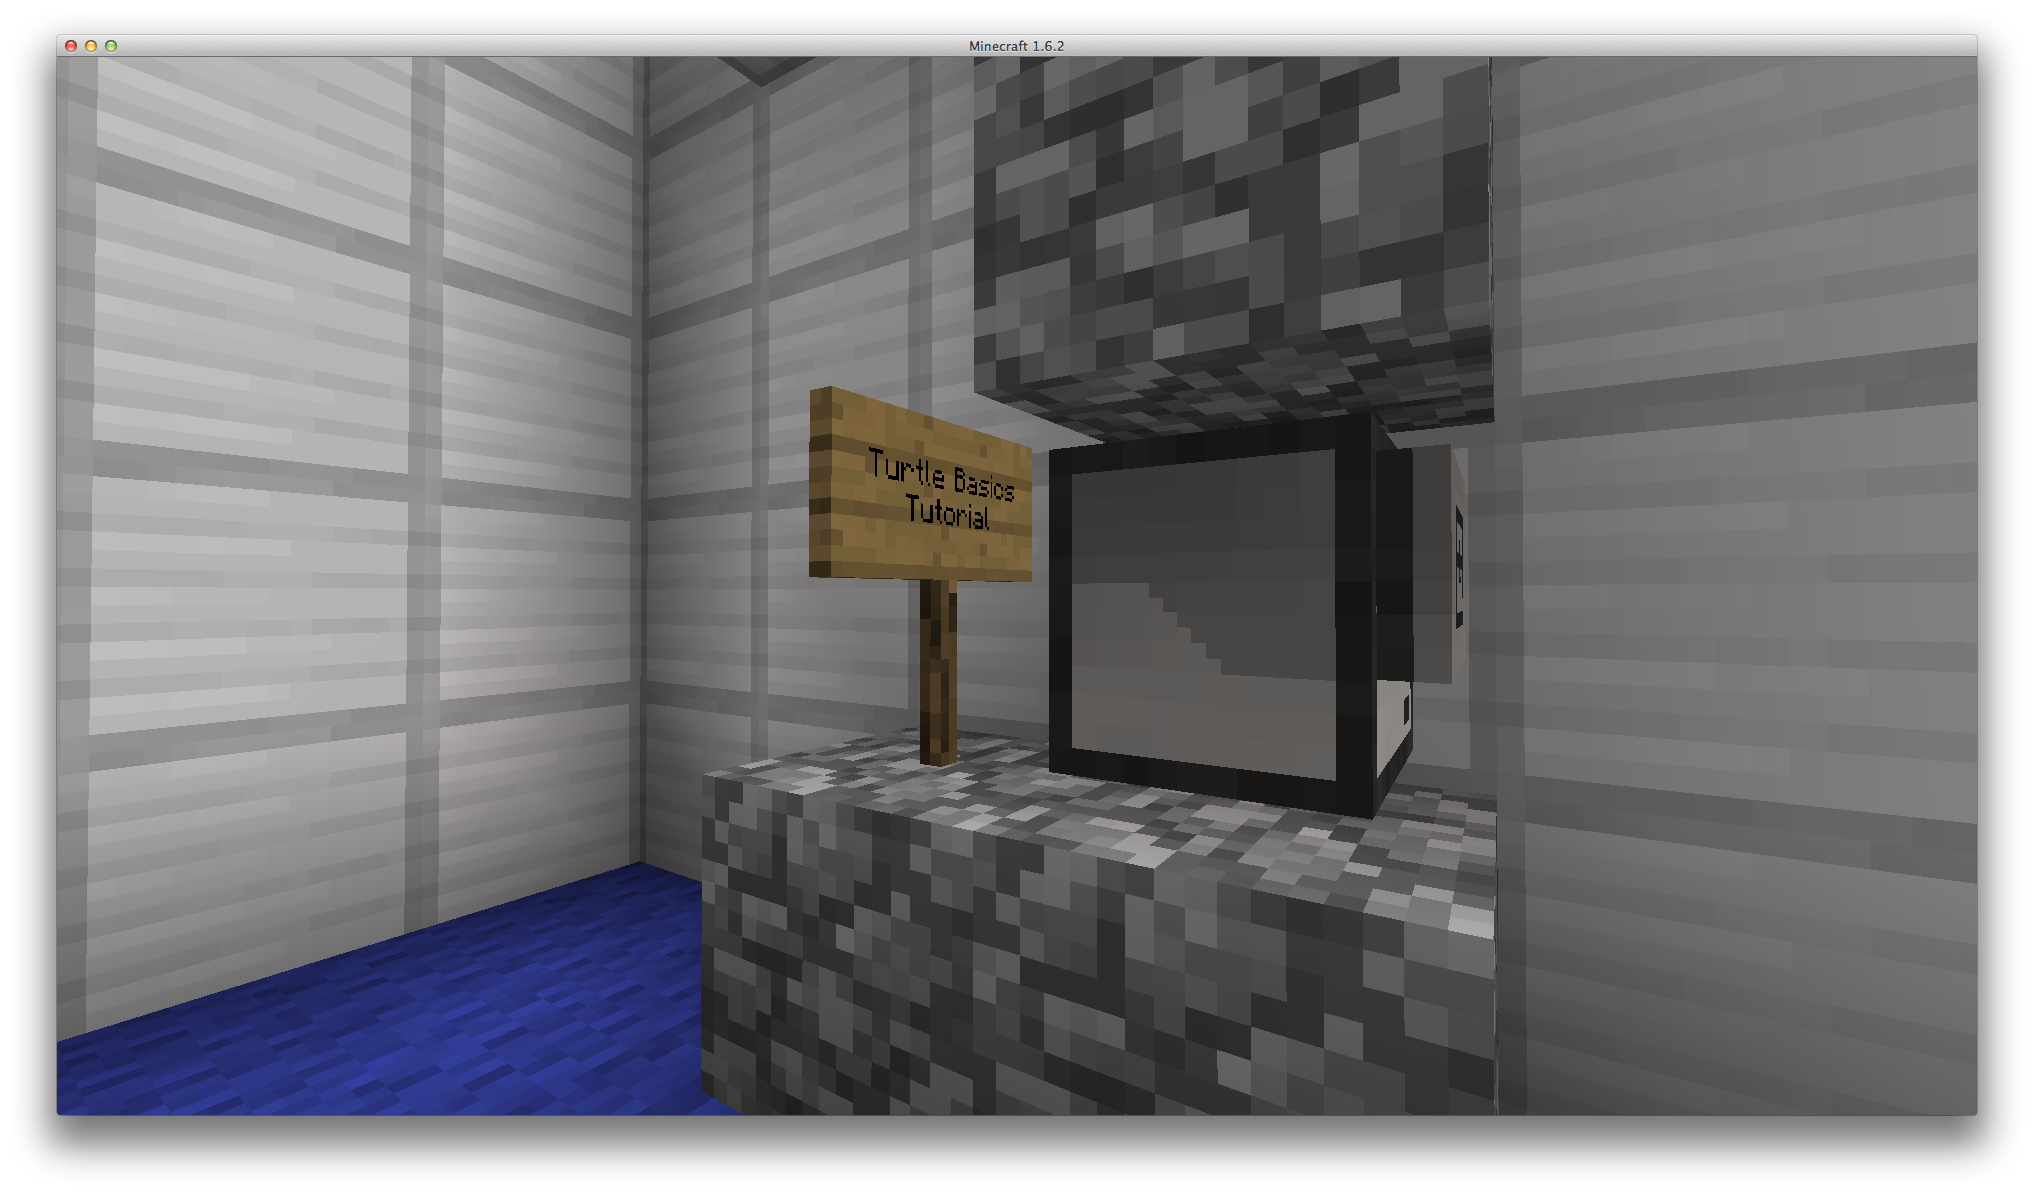
Note: As can be seen with the code we typed a Turtle does not automatically wrap the text on a sign, we must do that ourselves. Be aware that what you want the sign to say, may not always fit, just as if you were typing on the sign normally, but the Turtle will still return true as it was able to place the sign.
Note 2: As of ComputerCraft 1.4 the place functions will work with items just as if a player were to be right-clicking, it is also capable of interacting with entities.
attack
When moving a Turtle around it is very common for it to run into things that stop it from moving, we have already learnt how to deal with blocks in its way, now lets learn how to deal with the other thing to stop them, mobs and players. Any Turtle that has a tool attached is able to use the `attack` function, however it should be noted that just as with players the Sword and Axe work the best. Lets learn how to use this now. If you're in survival, trap a mob in a hole, otherwise spawn a mob inside a room like I have done here and place a Melee Turtle beside the mob.
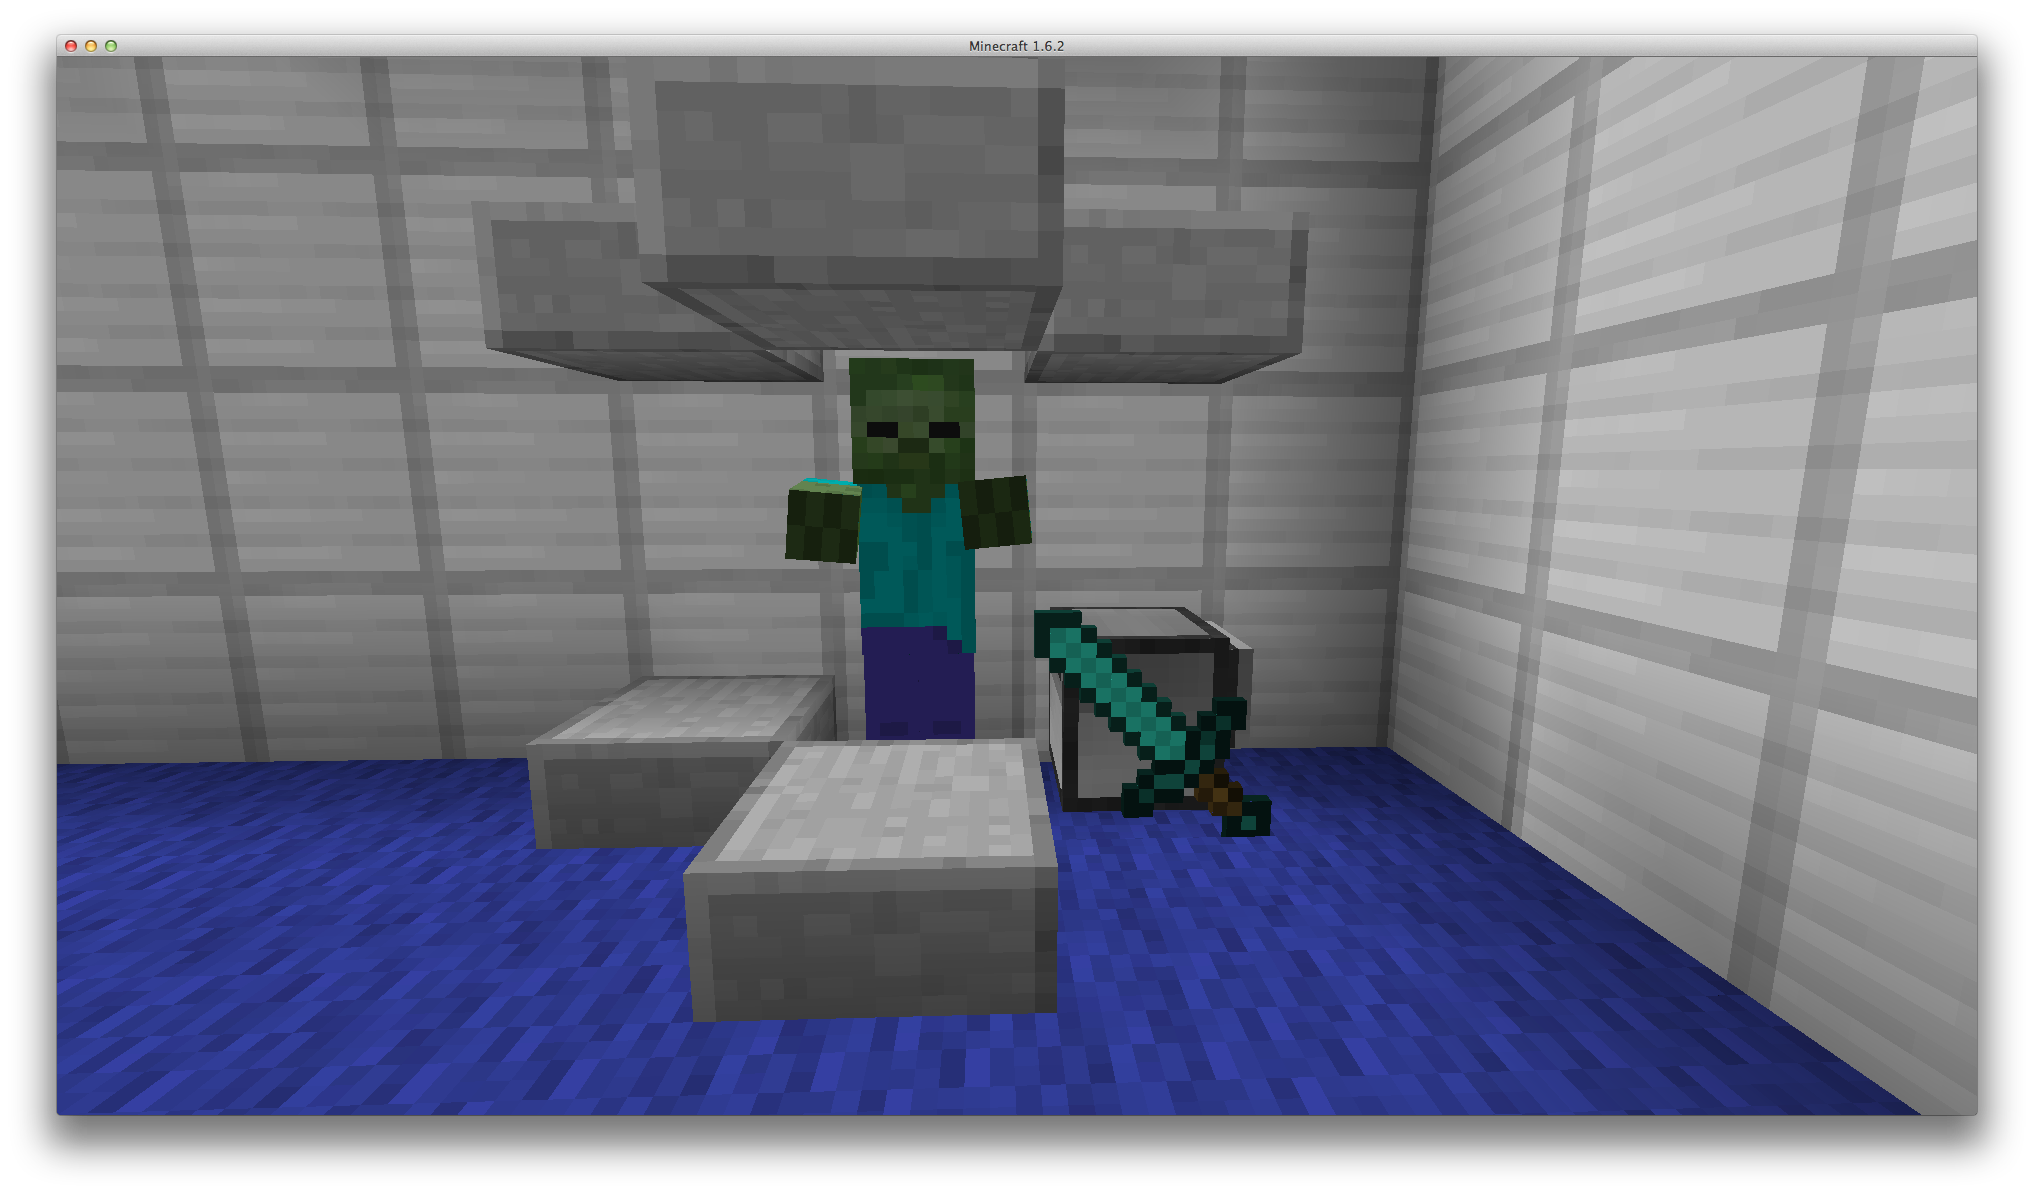
A Turtle can attack any mob or player that is one block in front, above, or below it, using the `attack`, `attackUp` and `attackDown` functions.
Note: Prior to ComputerCraft 1.51 there was a bug where in certain conditions a Turtle could not hit a mob/player that was standing in the block in front of it.
Open the Lua Prompt and type turtle.attack() then press enter, if you close the GUI quick enough you should notice the Turtle attacking the mob that is standing in front of it. Keep attacking the mob until it has died.
Note: You can press up in the Lua Prompt to run the last run command
You will notice that if the mob has a drop, for example a Zombie drops rotten flesh, that item will now be in the Turtle's inventory. You should also notice that if you run the `attack` function again that the function returns false and a message stating that there is "Nothing to attack here".
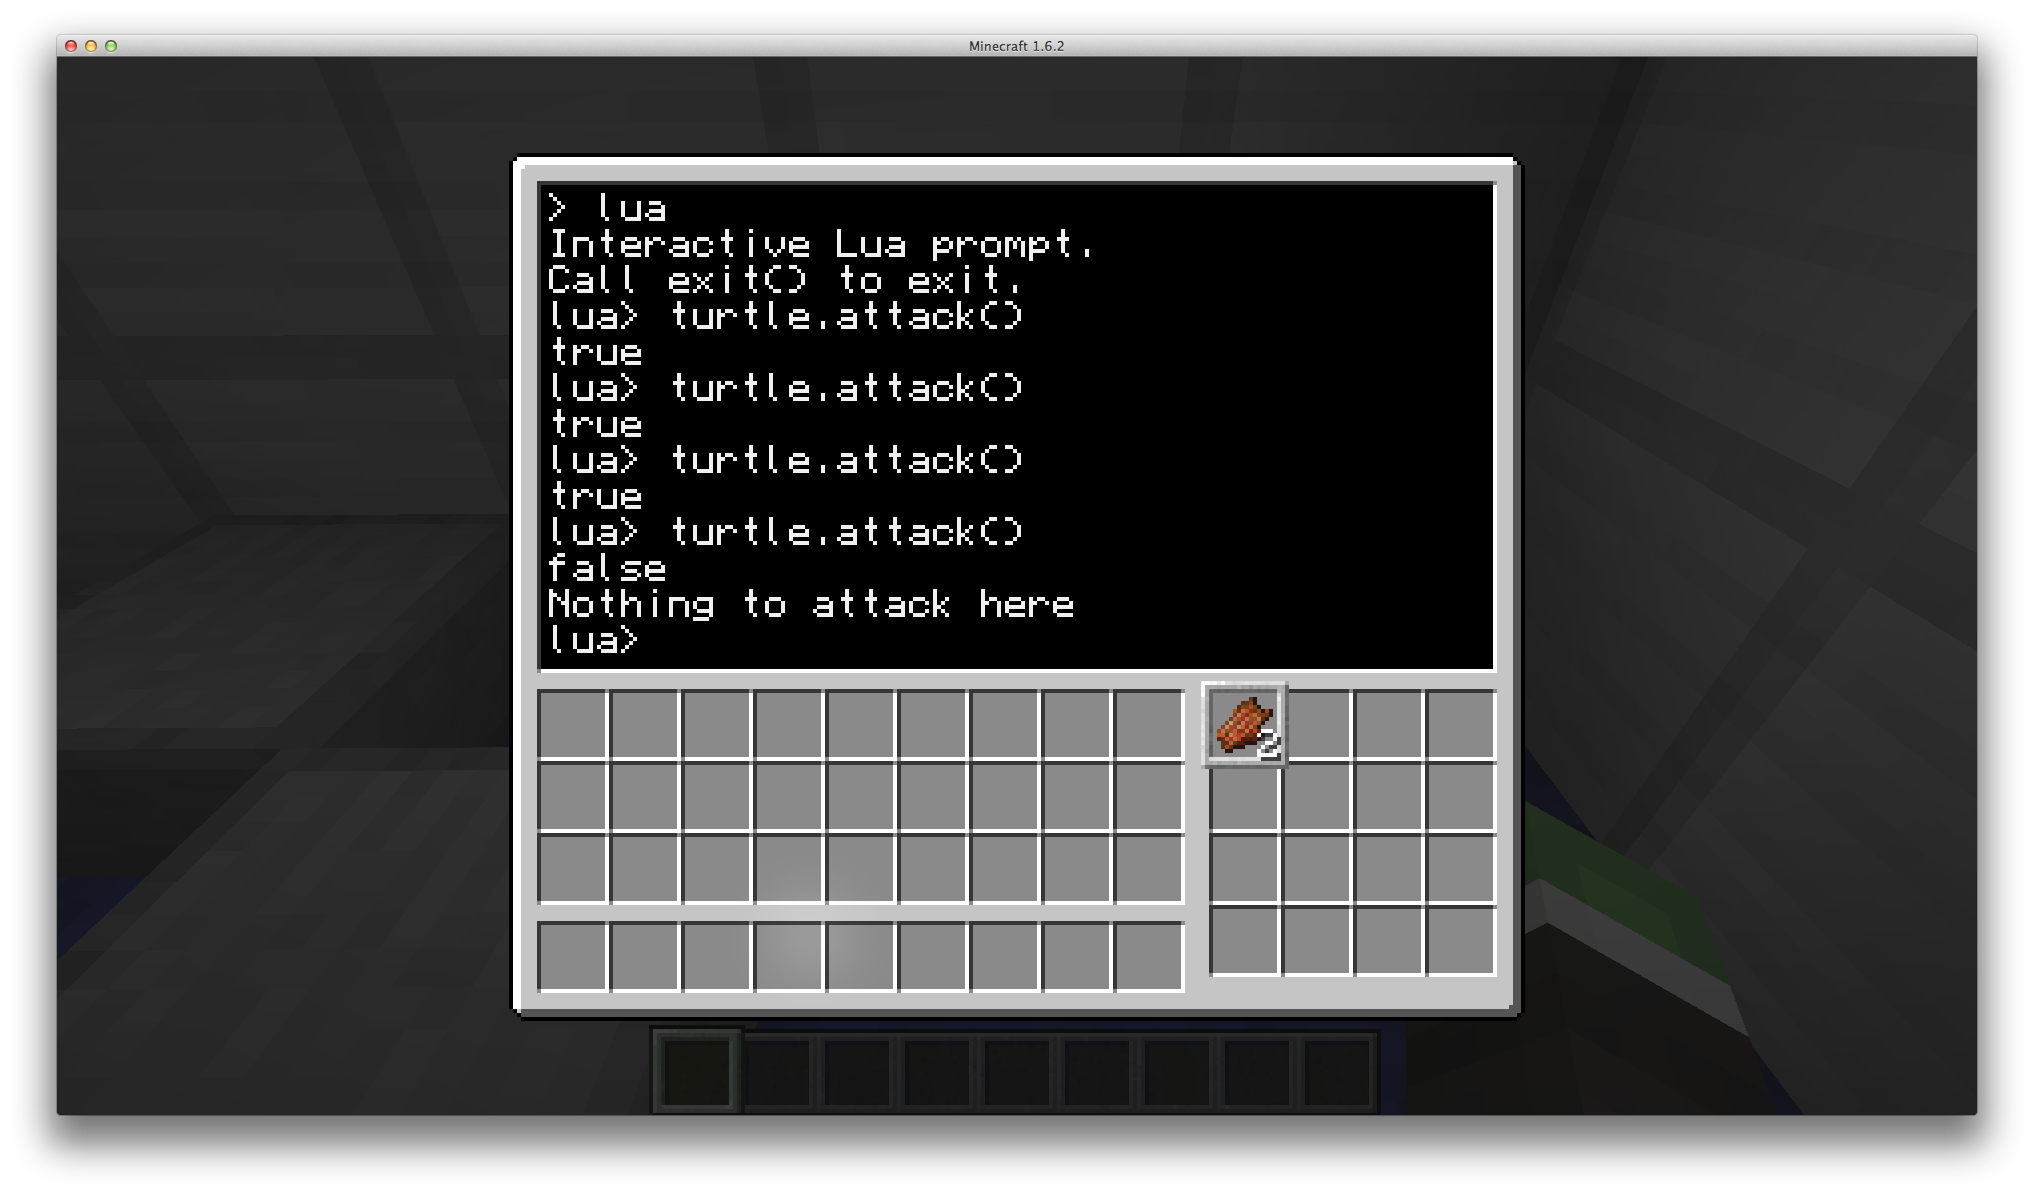
Have a play around will killing mobs above, and below the Turtle now by using turtle.attackUp() and turtle.attackDown() in the prompt.
Turtles and Events
Please revisit this section after you have read the Events tutorials, or have an understanding of the event system in ComputerCraft
Spoiler
It should be noted that in order for the Turtle API to work, it waits for an event to come back from the Turtle. As such this means that when invoking Turtle functions they will consume any events that were in the event stack before calling the Turtle function and any events that occur while it is waiting for the response from the Turtle, these can sometimes be events that you are waiting for. Because of this it could be suggested that you use the turtle.native.[function] calls instead of the normal calls and listen for the turtle_response event yourself that they return when complete. Alternatively, and the far easier solution, would be to run the Turtle movement code in a separate coroutine so that you don't loose any events.Note: These calls will return an ID just like when we start timers so that you can check what the response was towards, as the turtle_response will also return the ID as the second return value.
As of ComputerCraft version 1.55 we also now have a turtle_inventory event that fires whenever a change occurs to the Turtle's inventory. We are not told any information about what has occurred, just that something has changed, this could include a player adding or removing blocks from the Turtle's inventory.
Conclusion
Sadly we have come to an end to this tutorial. In this tutorial we have learn how to interact with the Turtle's inventory by moving around the selected slot, we have also learnt how to refuel the Turtle and check the fuel level. We now know how to move the Turtle around the world in all directions as well as how to get the Turtle to dig and place blocks, we also know how to get a Turtle to attack mobs and/or players.
Thank you for joining me in this tutorial, thanks for reading, enjoy playing with your Turtles, happy coding, and see you next time!


