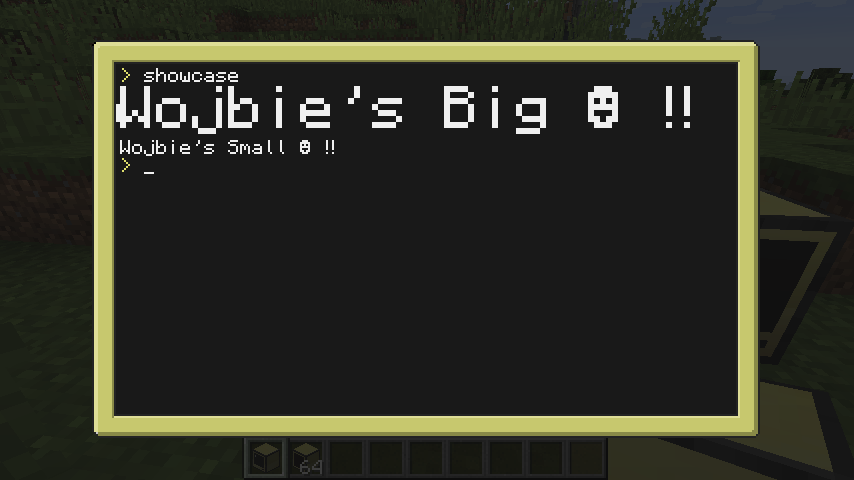
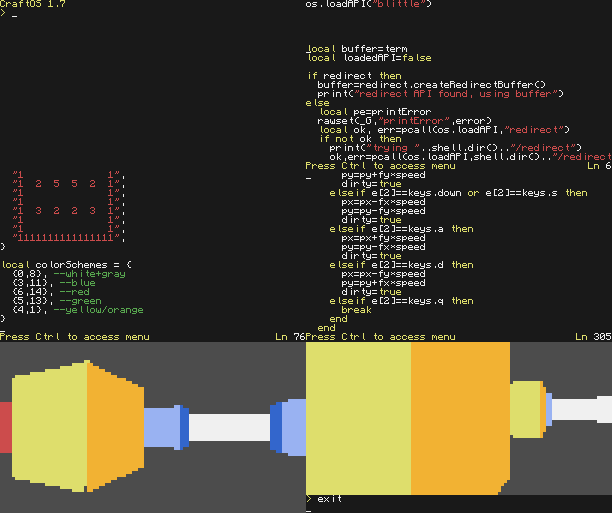
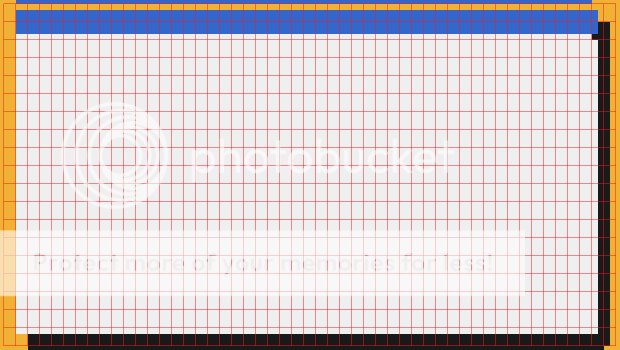
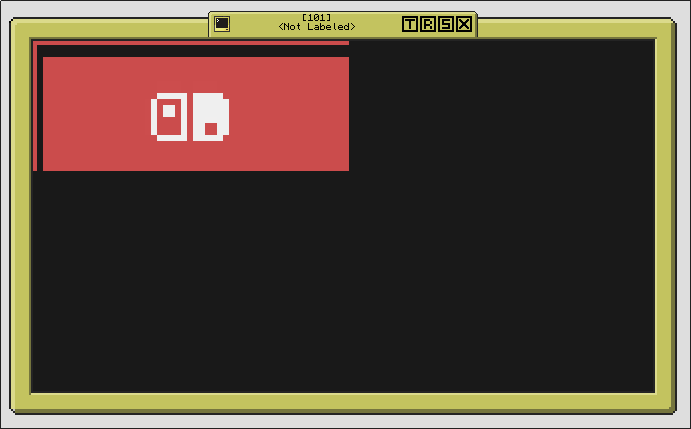
So ComputerCraft 1.76 (the first build for MineCraft 1.8) offers an expanded fontset, including characters that happen to be fairly convenient for drawing pixel art with. oli's function here provides a great illustration as to how they can be used to plot most any 2x3 pattern of pixels within any given character space.
This here is an API to help automate the process; pass in a paintutils image, and it passes out a little version that can be blitted, reduced using the "smaller pixels" available within the new font. It also offers functions to save/load/draw these images.
You can alternatively generate a "window" that can be treated as a regular term object, which'll automatically shrink anything you "draw" into it.
There's a bit of a catch in that there's the potential for some loss of colour information during the conversion process. It fudges things as best it can, but the less complex your image is, the better the results should be (pure black and white should always be perfect, for example). You'll also have better results if the original image dimensions have a width divisible by two and a height divisible by 3.
For quick reference, a regular ComputerCraft terminal display can effectively display images of up to 102x57 pixels using the new fontset (up from 51x19), whereas external monitors (when built up to full size and with a text scale set to 0.5) can go up to 328x243 (from 164x81).
API Usage
blittle.shrink(table paintutils image [, number backgroundColour) => table blittle imageShrinks a given image. If the image uses transparency, that will be converted to black (or to the backgroundColour value, if specified).
BLittle image structure
{
	["width"] = (number) image width
	["height"] = (number) image height

	[1] = {
		[1] = First text row.
		[2] = Second text row.
		-- etc
	},

	[2] = {
		[1] = First textColour row.
		[2] = Second textColour row.
		-- etc
	},

	[3] = {
		[1] = First backgroundColour row.
		[2] = Second backgroundColour row.
		-- etc
	}
}
It's hence possible to blit a given row of the image using term.blit(image[1][row], image[2][row], image[3][row]).
blittle.shrinkGIF(table GIF images [, number backgroundColour) => table blittle images
Accepts a GIF loaded by one of my other APIs. Returns a table filled with BLittle images, each with an additional "delay" key. These can be rendered quite simply, eg:
Spoiler
os.loadAPI("GIF")
os.loadAPI("blittle")

local image = GIF.loadGIF("someGIF.gif")
image = blittle.shrinkGIF(image, image.backgroundCol)

while true do
	for i = 1, #image do
		blittle.draw(image[i])
		sleep(image[i].delay)
	end
endblittle.draw(table blittle image [, number xPos] [, number yPos] [, table terminal])
Draws the blittle image - either at x1/y1, or at the specified location; uses either the specified terminal, or if none was supplied, the current one.
blittle.save(table blittle image, string filename)
Saves the blittle image to the specified file.
blittle.load(string filename) => table blittle image
Loads a blittle image from the specified file.
blittle.createWindow(table parent terminal, number x position, number y position, number width, number height, boolean visible) => table terminal object
Pretty much identical to window.create() from the window API - you get a term object you can redirect to.
It'll cover the number of characters specified when you define it, but its internal dimensions are two and three times the defined width and height. For example:
local myWindow = blittle.createWindow(term.current(), 1, 1, 10, 10)
print(myWindow.getSize())  --# 20 30
Only the background colours of the characters drawn to it are visible, so you can eg redirect to it and draw stuff with the paintutils API. As with blittle.shrink(), it'll do its best to fudge the results if the art you want it to draw isn't possible to represent using teletext characters.
As with a window from the window API, you'll get better performance if you set it to invisible while drawing stuff into it, and make it visible just at the moment when you're ready to reveal your completed frame.
All of createWindow()'s parameters are optional. If left blank, then they default like so:
blittle.createWindow(term.current(), 1, 1, currentTermWidth, currentTermHeight, true)Furthermore, here's a simple example script which imports images using my GIF API, and then draws them on an attached monitor:
Example Code
if not fs.exists("package") then shell.run("pastebin get cUYTGbpb package") end
if not fs.exists("GIF") then shell.run("pastebin get 5uk9uRjC GIF") end
if not fs.exists("blittle") then shell.run("pastebin get ujchRSnU blittle") end

os.loadAPI("GIF")
os.loadAPI("blittle")

local fileName, backgroundCol = "someImage.gif", colours.white

local mon = peripheral.find("monitor")
mon.setTextScale(0.5)
mon.setBackgroundColour(backgroundCol)
mon.clear()

local x, y = mon.getSize()

local image = blittle.shrink(GIF.toPaintutils(GIF.loadGIF(fileName)), backgroundCol)

blittle.draw(image, math.floor((x-image.width)/2)+1, math.floor((y-image.height)/2)+1, mon)
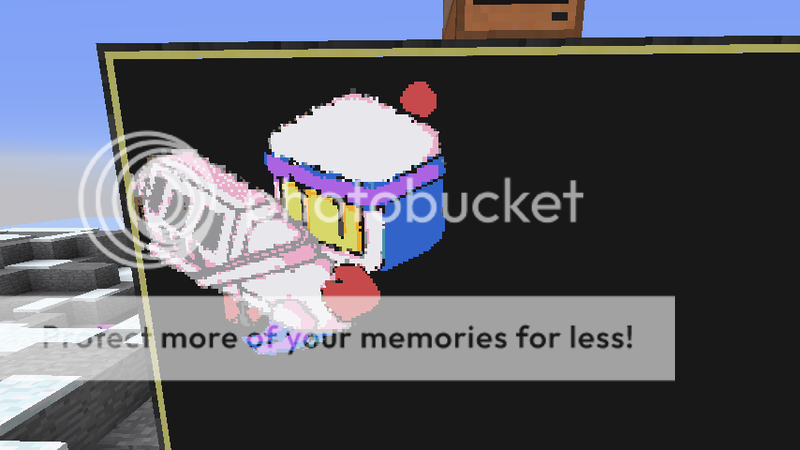
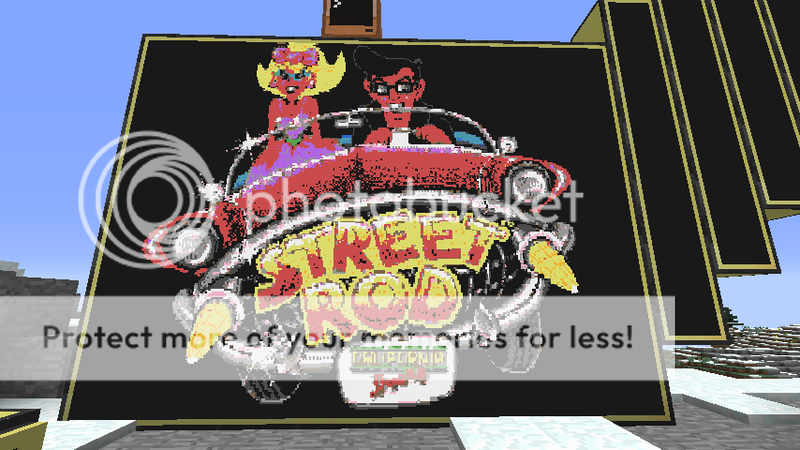
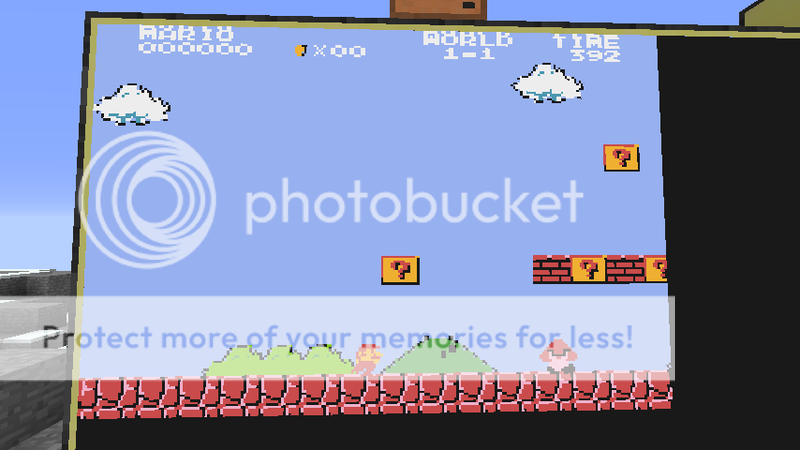
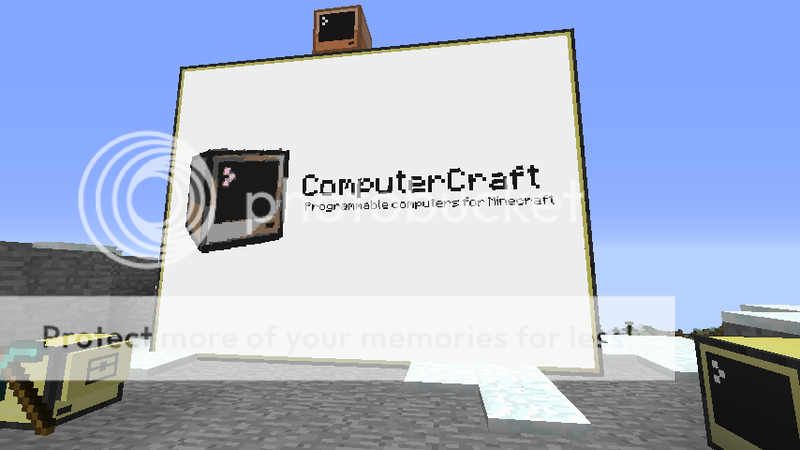
And here are some screenshots of what a few loaded images might look like:
Screenshots
Version History
2015/12/141.0.0
Initial release.
2016/01/31
1.1.0
Added createWindow() and shrinkGIF() functions.
2016/03/22
1.1.1
Sorted out crash bug reported by viluon; BLittle window object should also be a little faster.
2016/03/25
1.1.2
Fixed bug in the colour matcher.
2016/04/04
1.1.3
Fixed bug where window object's lines may've been incomplete when redrawing.
2016/04/29
1.1.4
Fixed crash bug when drawing off the right-hand edge of a window object.
2016/05/15
1.1.5
… and a similar bug involving the left-hand edge.
