Mostly updated to computercraft 1.6+ , there may be a few bugs!
Darkprograms are a collection of programs written for base security. Features include keycards and remote passwords (for now!)
I recently did a major rewrite of all the programs but this functionality is implemented.
Features / Recent Changes:
- All programs use stealth updates
- Cardgen program is now built into the server!
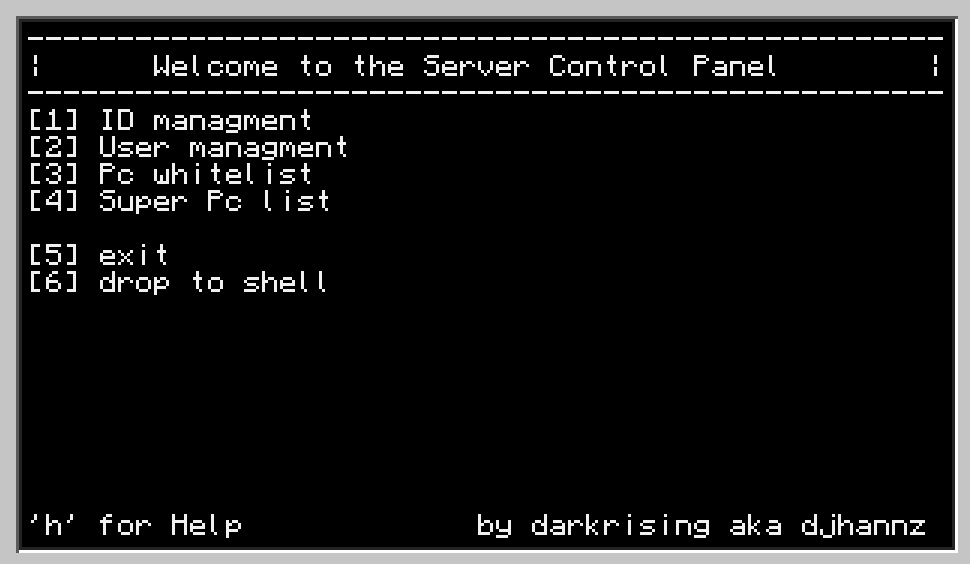
- Server has a more refined gui
Encryption is available for bundled cables (and rednet!- Encryption is always one- Communication is now done with tables rather than splits and joins (a lot more efficient)
- Security of communications has been improved
- Disk ID gui now is security level filtered
- Security levels now cascade with level 1 being the highest. (Meaning anyone with security level 1 clearance can open any level below them, 2,3,4,5,6,7,8 etc etc)
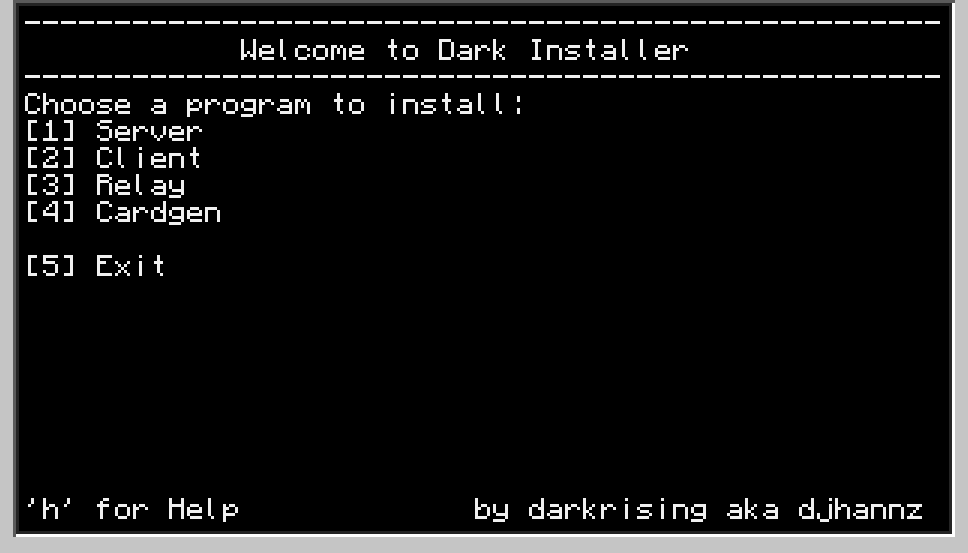
- Client now has a much improved installer interface
- Server has had a few changes too, pressing "l" (as in Lama) will bring up the security level switching interface for easy security level switching!
- The client is now security enforced again, no more [Ctrl] + T
- Various bug fixes and additions
A basic setup consists of a server and client computer
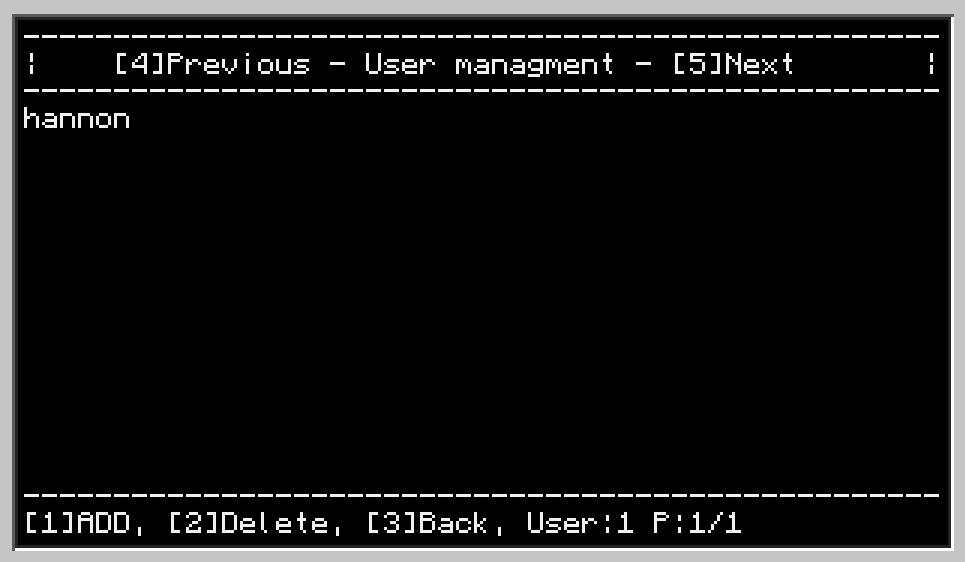
first you add the client computers id to the servers pc whitelist so that they can communicate, you then add a user to the servers user list
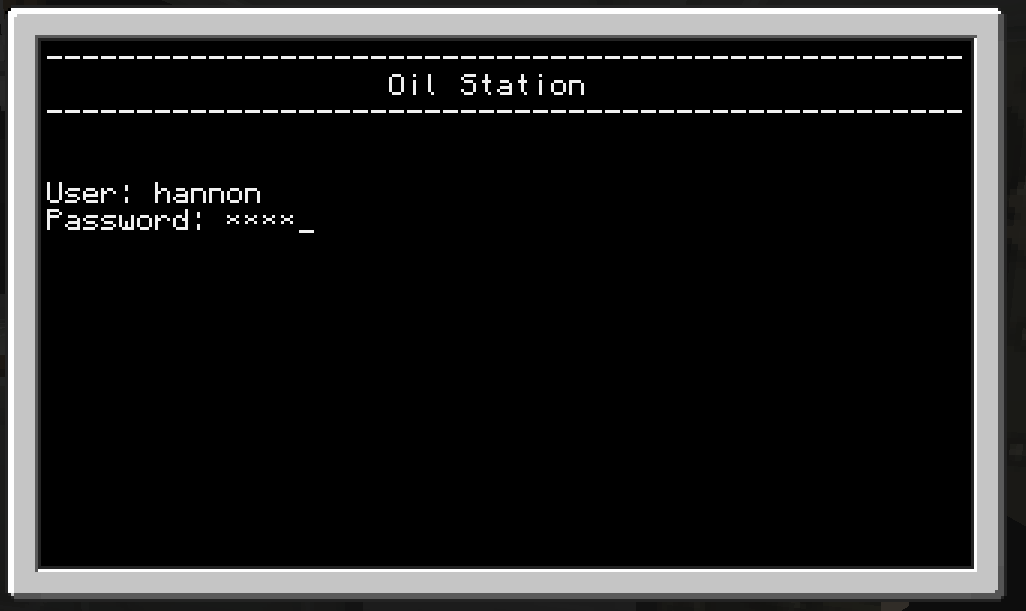
Type the user and password into the client computer and it will send to the information to the server for inspection, granting or denying access
How to download!
There is actually 2 ways of doing this, either grab my installer from pastebin just type: pastebin get Cf3NtVMi installer
Or you can grab my more up to date package downloader: pastebin get N22T449A dr
And then run the installer by typing: installer or dr
Note: dr stands for Dark Retriever, my more advanced package download system.
Tutorial
Spoiler
Hello and welcome to Dark Programs 101!This tutorial is a step by step guide on how to setup and use each program.
Http: is it enabled?
To download programs from pastebin you need http enabled. To do this navigate to your .minecraft/config folder, inside this you will find a file called ComputerCraft.cfg open that up with a text editor such as notepad and navigate to this line:
[b]enableapi_http {[/b]
[b]   # Enable the "http" API on Computers[/b]
[b]   general=false[/b]
[b]}[/b]Note: if you are playing on a server this option might already be enabled, if its not; ask the server owner about it.
Download instructions:
To download my programs you can either use the Dark Retriever or Dark Installer, for the less ComputerCraft savvy among you I would suggest getting the Dark Installer as it can generate a startup script for you. To do this type 'pastebin get Cf3NtVMi install' into the computer (without quotation marks) and run that program by typing 'install'. You will now get the option of downloading the server or the client.
Note: My programs work best on advanced computers!
Server
This program is basically the core of my programs, it has a database and communication functions that store information and communicate with the client computers. Find a safe place in your base, preferably behind a secret door or hidden in a wall and use the above instructions to download the server program. When the installer has generated a startup script and restarted the computer you should be prompted with the server setup screen. It will ask you for the security level amount, type a number in here. For a simple setup of just one level, just type in 1 and press enter (you can change this later)
Next you will want to setup a user account and promote it to admin, click or press the option "User manager" and then hit "User manager" again on the next window. You will now be presented with the list user interface. At the moment it will be blank but users for the selected level will appear here. We need to add a user so hit 1 on the keyboard or click Add at the bottom of the screen. Follow the instructions to add the user. After you have done this your new user account will be on the list! People's logins for the different areas will appear here. Now we must promote your user account to admin so we can add a client computer to the system. Hit 3 on your keyboard or click back at the bottom and lets go into the admin menu! (Again hit 3 or press admin manager to get there) You will now be presented with a similar interface to the last one, but using this UI we can promote a user to admin. So hit 1 or press promote and type in your username! If you did this right your username will be now shown on the list. Admin accounts can login to any security level and can also be used to add client computers to the server. Experiment with the menus and adding and removing users to get used to the interface! But for now we must setup our first client computer.
Client
-Tutorial coming soon-
Screenshots


